Have you ever wondered if sealing under your home will stop damp smells and rot for good? Or what is crawl space encapsulation?
I’m the owner of Drainage First, a Metro Atlanta company with 20+ years fixing moisture and water intrusion the right way. I start outside every time. If water reaches the foundation, we correct grading and exterior drainage before we seal under your house.
Encapsulation means sealing the area beneath a home with vapor barriers and insulation to control moisture, improve air quality, and boost energy efficiency. It works best when fully sealed and paired with dehumidification, but it won’t stop flooding by itself.
We promise fast, personal service, same-day written estimates in most cases, and hands-on visits from our team. Call (678) 389-9544 or email carter@drainagefirst.com for a site-specific plan in Metro Atlanta and nearby areas.
Key Takeaways
- Drainage First fixes outside water flow before sealing under the home.
- Proper encapsulation controls moisture and air movement, not just plastic on soil.
- Full systems include liners, sealing, insulation, and dehumidifiers.
- Correct work reduces musty odors, mold risk, and improves comfort and efficiency.
- We offer quick, owner-led service and same-day written estimates in Metro Atlanta.
Understanding Crawl Spaces and Why They Get Moist
The hidden area beneath your floors often controls smells, humidity, and how warm rooms feel. I want to explain that area in plain terms and show why it can affect the whole home.
What the area under your house does
A crawl space provides access to foundation, plumbing, and electrical systems. It also connects directly to your living areas through gaps in floors, ductwork, and openings.
How outdoor air moves and brings humidity in
Stack effect is simple: warm air rises and pulls cooler air from below. That movement draws damp outdoor air into the crawl space and then into the house.
- In Metro Atlanta, warm seasons make vented areas risky—vents pull humid air that condenses on cool ducts and walls.
- Signs of moisture under a house include damp soil, wet insulation, and condensation on pipes.
- Left unchecked, humidity raises HVAC runtime, makes floors feel cold or spongy, and starts wood deterioration.
Controlling the crawl space environment matters because it stops outdoor humidity from driving conditions under the house. That is why we focus on both drainage and sealing when we plan repairs.
What is crawl space encapsulation
Crawl space encapsulation changes how moisture and air behave beneath your home. I mean a full system, not just a sheet on the dirt.
Definition and what “fully sealed” really means
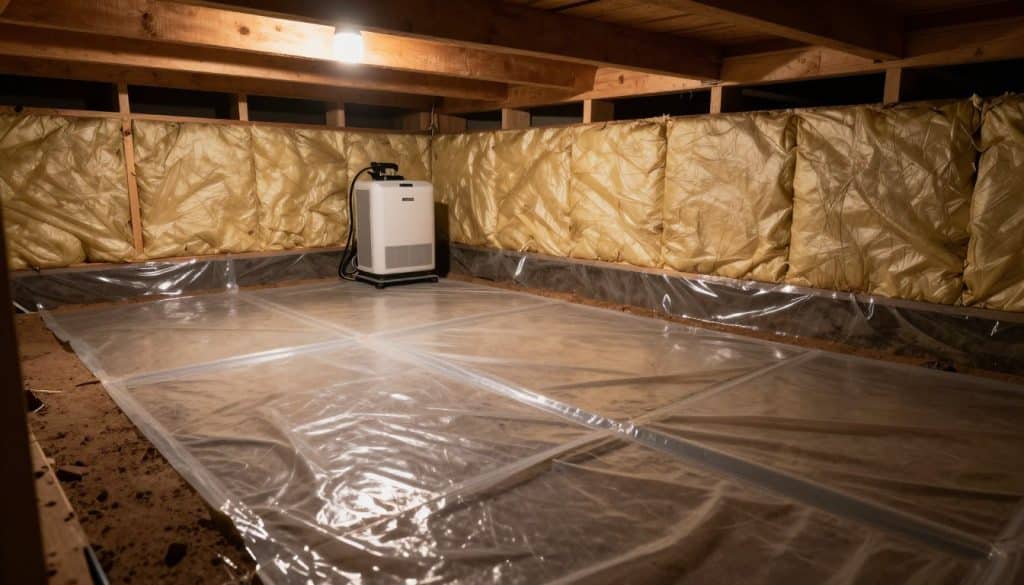
Fully sealed means a continuous floor liner and wall liner with taped seams, sealed vents and any openings closed tight. We add insulation and a dehumidifier so humidity stays below 60%.
How proper sealing improves comfort and health
An installed vapor barrier and tight seals reduce moisture movement from the soil and stop outside air infiltration at the same time.
- Better air quality: fewer allergens and odors reach the house.
- Energy and efficiency: less conditioned air lost, fewer drafts, steadier temperatures.
- Clear results: bright, clean liner, tight seams, and stable humidity readings.
I always check drainage first. If bulk water exists, we fix drainage before sealing crawl areas. That keeps the system working long-term.
Encapsulation vs. a Vapor Barrier Alone
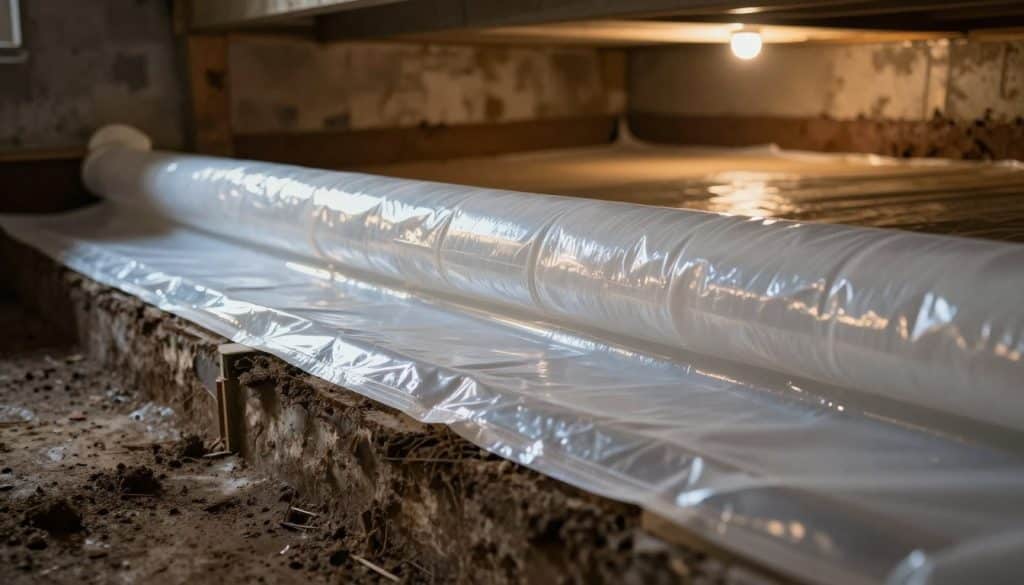
A single layer of liner can feel like a quick fix, but it often falls short. A proper vapor barrier blocks moisture rising from the ground. That helps, but it does not stop humid outside air from entering through vents and gaps.
What a vapor barrier does well: it limits ground moisture and protects exposed soil. Homeowners see less wet dirt and fewer direct leaks onto the liner.
Its limits: plastic-only jobs rarely seal rim joists, vents, or service penetrations. They don’t control humidity, and they leave routes for pests and air exchange.
- Partial barriers often still smell musty and show condensation during humid months.
- Full systems seal openings, add insulation, and include dehumidification to control humidity.
- Sealed systems reduce pest access by closing gaps and removing damp attractants.
Bottom line: a durable solution is a system, not just a sheet. We focus on drainage first, then install liners, seal seams, insulate, and add humidity control so results last.
Signs Your Crawl Space Needs Encapsulation Now
Small signs under your floors may point to big problems above. I watch for clear, repeatable clues when I inspect homes in Metro Atlanta.
Musty odors, mold spores, and indoor air quality issues
Musty odors and airborne spores
If you notice a persistent musty smell or allergy flare-ups, mold spores and allergens may be rising into your living areas. That affects indoor air and overall air quality quickly.
Condensation and wet insulation
Look for condensation on ducts or pipes and insulation that hangs loose or looks damp. High humidity under the house drives moisture and raises mold risk.
Sagging floors and structural concerns
Floors that sag or feel soft
Sagging floors, soft spots, or early wood rot are signs that moisture has started to damage framing. These issues threaten structural integrity and demand action.
Pest activity and entry through openings
Droppings, nests, or insect trails
Seeing pests, droppings, or gaps around pipes and vents shows openings that need sealing. Closing those routes reduces pest access and further moisture problems.
- If you find moisture plus odor plus visible deterioration, call for a drainage assessment and a full sealing plan.
- Acting early limits damage and protects air quality, insulation, and the home’s structure.
How Crawl Space Encapsulation Protects Indoor Air Quality
A properly sealed underfloor area keeps allergens and spores from reaching your family’s breathing zone. I focus on stopping the main routes that let damp air and microbes travel upward into living rooms.
How allergens and mold move from the crawl into living areas
Air follows pressure. Gaps at rim joists, duct chases, and openings around pipes create paths for contaminated air to rise. Floor penetrations let soil gases and spores enter the HVAC return stream.
Why moisture control is the key to mold control
The EPA says the key to mold control is moisture control. Encapsulation reduces ground and outdoor moisture by sealing liners, closing vents, and adding humidity control.
Lower humidity (often kept under 60%) slows microbial growth and cuts allergens moving into indoor air. That protects the home’s environment and the people inside.
- Pathways closed: fewer routes for spores and soil vapors.
- Fewer triggers: less musty odor and fewer allergy symptoms.
- HVAC protection: ducts and equipment see less condensation and wear.
In short, moisture control means mold control, and mold control improves indoor air quality. We pair exterior drainage fixes with a sealed system so results last.
Materials Used for a Long-Lasting Encapsulation System
Choosing the right materials determines whether a sealed underfloor system lasts decades or fails in a few seasons. I pick products that resist wear and keep performance steady over time.
Vapor barrier thickness and durability
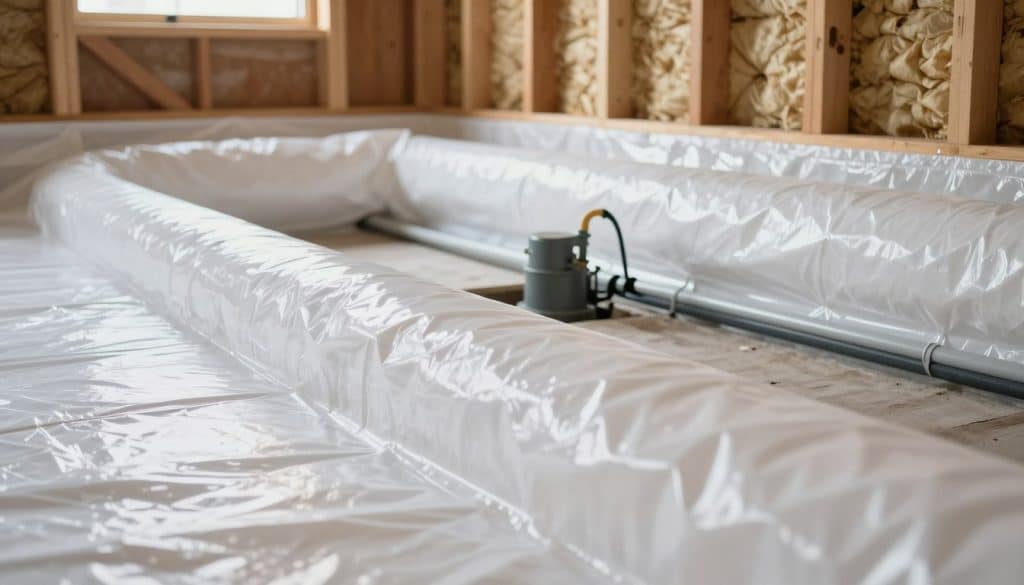
Use heavy polyethylene liners—typically 8–20 mil—for the floor and up the foundation walls. Thicker sheets resist punctures and cover piers and seams fully. A thin liner often fails early.
Seams, adhesives, and fasteners
High-quality seam tape and adhesives make seals airtight. Mechanical fasteners hold liners tight at rim joists and penetrations. Together they stop leaks and reduce air movement.
Insulation choices: walls and rim areas
Insulate walls and rim joists, not with fiberglass that soaks up moisture, but with rigid foam board or closed-cell spray foam. Both provide thermal control and added air sealing where details matter most.
- Outcome: fewer drafts and steadier floor temperatures.
- Checkpoint: avoid thin, flimsy materials—use crawl-space-rated products.
- When to use spray foam: tight corners and rim joists; foam boards work well on flat walls.
How-To Guide: Crawl Space Encapsulation Process
Follow a clear sequence so each task supports the next. I lay out the major steps I use on every job to avoid shortcuts that cause failures later.
Cleaning and prep work before sealing
I inspect and remove debris, old insulation, and damaged materials. If mold appears, I treat it and let the area dry before proceeding.
Fixing drainage issues or standing water comes first. A dry floor and stable foundation make the seal effective.
Installing the floor liner and running it up foundation walls
Install the vapor barrier across the floor with overlaps at seams. Tape, seal, and fasten the liner, then run it up the foundation walls to form a continuous basin.
Sealing vents, doors, penetrations, and other openings
Seal vents, access doors, plumbing, and electrical openings to stop humid air from entering. Proper sealing prevents leaks that raise moisture and humidity.
Insulating for energy efficiency and comfort
Insulate rim joists and walls with closed-cell foam or rigid board. Continuous insulation boosts energy savings and reduces drafts.
Adding a dehumidifier and after-install checks
Install a dehumidifier sized for the volume and set it to keep humidity under 60%. After the job, verify seams, confirm vent sealing, and log humidity readings for performance tracking.
- Key benefits: reduced moisture, steady humidity, better energy efficiency.
- Final check: visual seam inspection, sealed openings, and documented humidity values.
- Why follow this order: skipping prep or sealing vents first often leads to early failures.
Drainage Comes First: Preventing Water Intrusion Around the Home
Before we seal anything, we look outside to stop water from reaching the foundation. I treat exterior fixes as the root solution. Sealing controls vapor and humidity, but it cannot stop bulk water entry during storms.
Why sealing won’t stop flooding by itself
Truth: a liner helps humidity but does not stop groundwater or standing runoff. If water collects against the house, the liner can be overwhelmed and the risk of damage rises.
Exterior drainage and grading as the root-cause fix
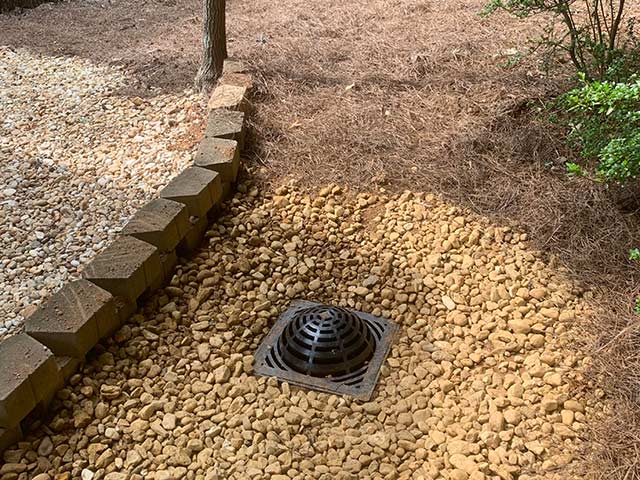
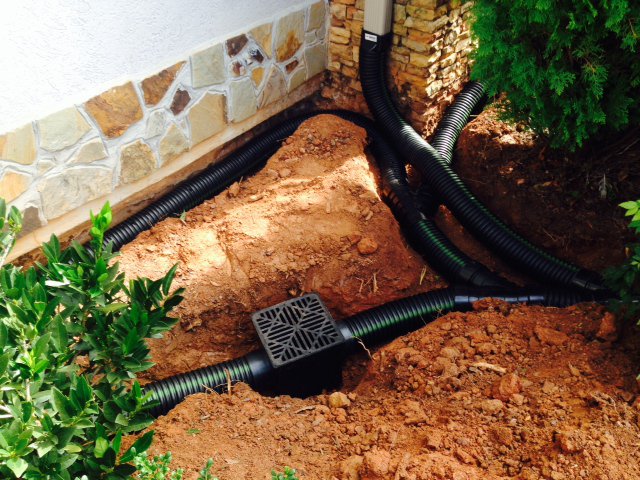
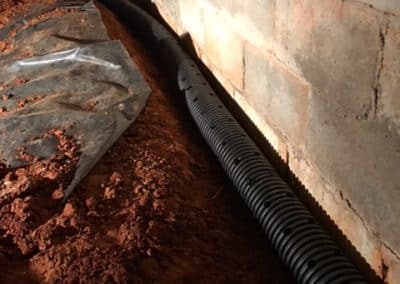
I first inspect grading, downspout discharge, and low spots that channel water toward the home. Correcting slope and redirecting run-off usually solves the issues that lead to repeated interior fixes.
Protecting foundation walls from moisture pressure and damage
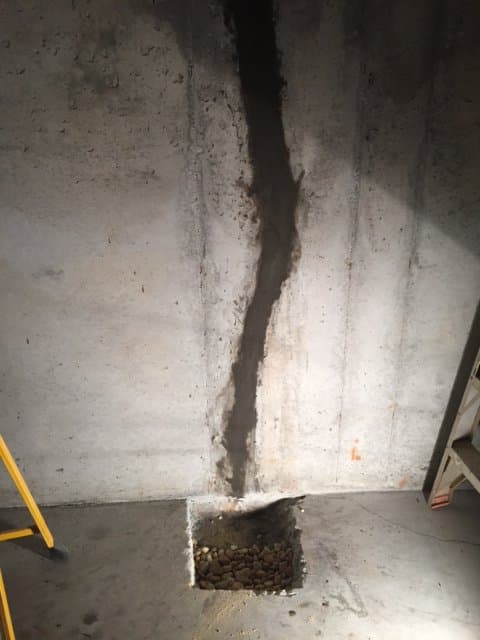
When ground stays wet, soil stays heavy and presses against foundation walls. That pressure pushes moisture into masonry, causing stains, rot, and long-term structural damage.
- We fix outside first: smarter, less disruptive, and often more affordable.
- Local experience: Metro Atlanta clay soils and heavy rains make drainage-first planning essential.
- Service promise: 20+ years local, hands-on crew, fast turnaround, same-day written estimate.
Do’s and Don’ts for Better Results and Fewer Problems
Good results start with a clear plan and the right materials under the floor. I follow simple rules to avoid common failures and ongoing issues.
Do use rated materials and proper sealing
Do choose reinforced polyethylene vapor sheets (10–20 mil). Use crawl-space-rated tapes and adhesives and install insulation that resists moisture.
Don’t trap existing moisture or ignore active leaks
Don’t seal over standing water or active leaks. Trapping damp areas invites mold, odors, and long-term damage.
Don’t rely on fiberglass in damp areas
Don’t use fiberglass where humidity rises. It soaks up moisture, sags, and can feed mold.
- Air sealing priority: treat seams, joist penetrations, and transitions like leaks until fully sealed.
- Humidity control: plan a dehumidifier sized to keep levels under 60% in sealed spaces.
- Homeowner checklist: verify exterior drainage, confirm liner runs up walls, ensure dehumidifier plan, and seal the access door.
Cost, Savings, and Home Value Impact in Today’s Market
Costs vary widely, so a clear quote matters more than a low headline price. I give realistic ranges and explain why numbers change from job to job.
Typical price ranges and what drives cost up or down
Basic jobs for small underfloor areas often run roughly $1,500–$15,000. More involved full systems with heavy prep, insulation, and larger dehumidifiers can reach $8,000–$20,000.
Price drivers: crawl size, existing moisture, needed cleanup, insulation type, and dehumidifier capacity.
Energy benefits and long-term avoidance of repairs
A sealed, well-insulated system reduces HVAC runtime. In many homes that can translate to meaningful energy and efficiency gains—sometimes around 15% on heating and cooling bills.
Less moisture under the floor also limits wood rot, ruined insulation, and HVAC corrosion. That prevents repeated repairs and protects structural integrity.
Resale impact and buyer confidence
Buyers and inspectors favor documented systems. A clean, sealed area signals proactive maintenance and better home quality.
- Compare bids by scope—not just price.
- Ask for material specs, sealing details, and drainage plans.
- Quality work protects integrity and reduces future damage risk.
When to DIY vs. When to Hire a Professional in Metro Atlanta
A clear plan helps homeowners know when to pick up a toolkit and when to call a specialist. Small tasks save money. Bigger problems need a pro fast.
Projects that usually require pro help
- Call a pro for: standing water, recurring leaks, visible mold, pest infestations, or structural concerns that threaten joists or foundation.
- Also hire out: complex layouts, multi-level underfloor areas, or jobs needing heavy prep and specialized equipment.
What to look for in an installer and what good looks like
Choose a contractor who provides a detailed scope, uses crawl-space-rated materials, and has a clear seam and fastener plan for liners up the walls.
- Taped, tight seams and sealed vents and openings.
- Continuous liner coverage from floor to walls and a humidity control plan.
- Written estimate, owner involvement, and local experience documented.
Why Metro Atlanta homes often need drainage + sealing
Clay soils and heavy rains send water to foundation edges. I always fix exterior drainage first, then add encapsulation and dehumidification to stabilize the area.
Drainage First brings 20+ years of local experience, hands-on owner service, and most same-day written estimates. Homeowners who want a drainage-first plan can call (678) 389-9544 or email carter@drainagefirst.com.
Conclusion
A dependable seal and active humidity control deliver lasting comfort and fewer repairs.
Encapsulation works when treated as a full system: a continuous liner, taped seams, sealed vents and rim areas, proper insulation, and a dehumidifier set to keep humidity below 60%.
I always fix exterior drainage and grading first. If water reaches the foundation, redirecting runoff and correcting slope prevents future ground intrusion before we seal the underfloor area.
Homeowner benefits: better indoor air quality, fewer odors, improved comfort and energy efficiency, fewer pest routes, and protection of structural integrity against moisture damage.
Do it once, do it right—use durable materials, seal openings, and maintain humidity control. For Metro Atlanta homes, call Drainage First at (678) 389-9544 or email carter@drainagefirst.com for a same-day written estimate and a tailored plan.