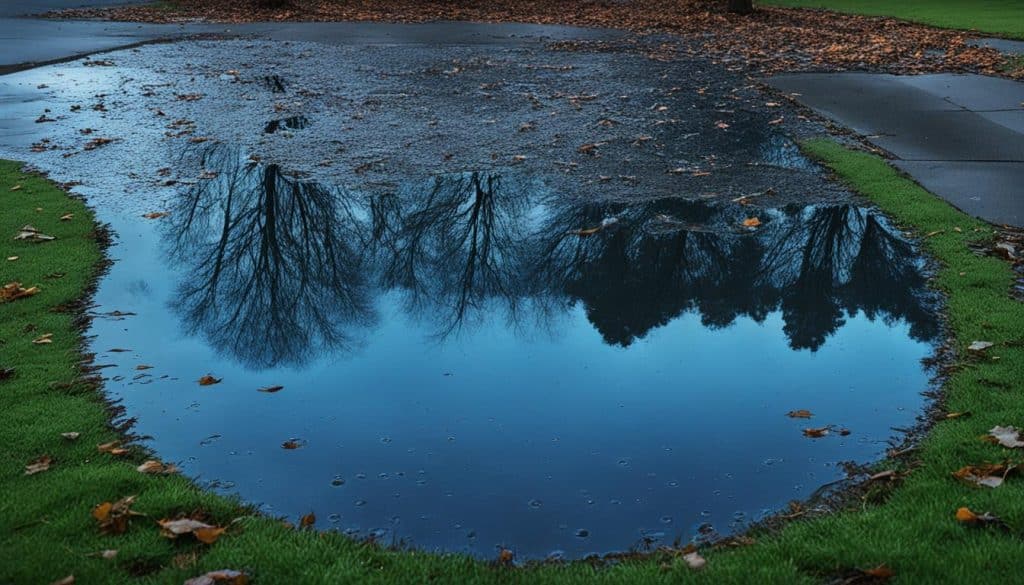
Could stopping that next flood be simpler than you think? How to waterproof a basement?
I’m the owner of Drainage First, a hands-on crew serving Metro Atlanta for 20+ years. I start every job the same way: diagnose the source, fix exterior drainage, then apply interior protection when it truly helps.
Fast, personal service is my promise. I make the service calls myself and usually leave a same-day written estimate. Call (678) 389-9544 or email carter@drainagefirst.com for direct help.
Basement leaks can ruin belongings, cause mold, and threaten structure. That’s why I focus on grading and drainage first. In Georgia soils, reducing hydrostatic pressure is often the best way to stop recurring intrusion rather than relying only on coatings.
Key Takeaways
- I diagnose before prescribing fixes.
- Exterior drainage and grading often beat interior coatings alone.
- I provide same-day written estimates and owner-led service.
- Expect practical, budget-minded solutions, not unnecessary systems.
- Call (678) 389-9544 or email carter@drainagefirst.com for local help.
Why basement waterproofing matters for homes in Metro Atlanta
Wet walls and musty air are more than an annoyance — they signal real risk to your home. Excess moisture drives mold, odors, wood rot, and ruined floors. Left unchecked, these issues raise repair bills and harm indoor air quality.
Recurring water intrusion also stresses the foundation. Repeated wetting and drying can enlarge weak points, promote cracking, and lead to structural problems over time.
In Metro Atlanta, heavy rain and poor runoff paths make this common, especially in homes with below-grade walls. That is why I focus on fixing grading and drainage first.
- Protect indoor air: Dry spaces cut mold and musty odors.
- Save finishes: Dry floors and walls avoid costly replacement.
- Protect structure: Stopping water at the source helps preserve the foundation.
My approach at Drainage First is practical: address exterior drainage, then improve interior protection only when needed. That sequence often solves problems without expensive interior systems.
Common signs your basement needs waterproofing
Small signs in your lower level often mean bigger water problems if left alone. I walk every job site with an eye for clear, repeatable clues that point to intrusion and recurring moisture.
Look for stains and mineral deposits. Efflorescence — white, powdery crystals on masonry — tells me moisture is migrating through walls. Dark water stains and visible mold are next on the checklist.
Watch finishes for failure. Peeling paint, bubbling flooring, or delaminating baseboards usually mean moisture is behind the surface, not just on it.
- Damp walls and wet concrete floors: Tap the wall and smell the air. Persistent dampness needs diagnosing.
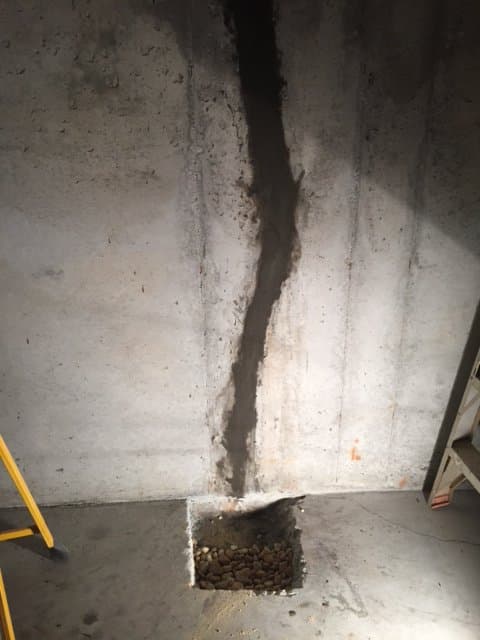
- Cracks and active leaks: Small cracks can be cosmetic; wide or wet cracks are likely leak paths.
- Window wells and penetrations: Check wells, utility entries, and joints where materials meet for pooling or seepage.
Almost every Georgia home with underground walls benefits when grading and exterior drainage are fixed first. Diagnose the source before sealing surfaces — that step saves money and prevents repeat problems.
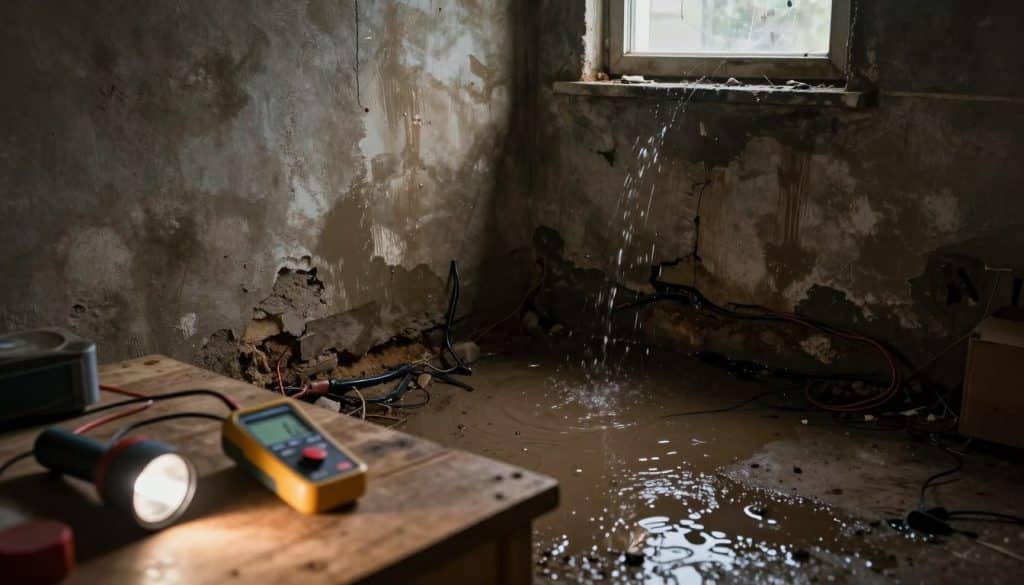
How to find where the water is coming from before you seal anything
Pinpointing the source of that damp spot saves time and money before any seal or coating is applied. I start every inspection with simple tests and a clear checklist. That way we avoid fixes that trap moisture or miss the real problem.
The aluminum foil method: Tape foil over a suspect area for 24 hours, then check the foil and wall. Condensation on the foil usually means humid interior air. Damp on the wall under the foil means outside infiltration through masonry.
Interior checks
I inspect plumbing lines, appliances, and the sump pump. Small leaks and failing sumps often mimic foundation moisture. I also note the feel of the air and dehumidifier readings. That tells me if ventilation or moisture control is the right first step.
Exterior clues
Next I look at grading, downspouts, and roof runoff. Soil sloping toward the house and downspouts that dump at the foundation are common causes of infiltration. Identifying the side of the problem guides the right repair method.
- Quick decision points: interior humidity — vent or dehumidify; plumbing — repair; exterior runoff — regrade and extend downspouts.
- When exterior drainage is the issue, I make that the first action before sealing interior surfaces.
What causes basement water problems: hydrostatic pressure and exterior drainage issues
Heavy, waterlogged soil applies steady force against foundation walls and finds weak spots. That force is called hydrostatic pressure. It pushes water through joints, pores, and tiny cracks until something gives.
How saturated soil pushes water through joints, pores, and cracks
Saturated ground acts like a heavy sponge. The pressure forces water into joints, hairline cracks, and around penetrations. Even solid concrete will leak where the load finds a path.
Capillary action in concrete and masonry walls
Concrete and masonry wick moisture through tiny channels. This capillary action moves water upward and inward without visible flow. That’s why walls feel damp even when you don’t see standing water.
Why poor grading and clogged gutters make intrusion worse
Poor exterior grading and blocked gutters concentrate runoff at the foundation. That raises soil saturation and doubles the hydrostatic pressure on your foundation. Short downspouts and compacted soil make the drainage problem worse.
- Fix the outside first: reduce soil water and you cut the driving force behind leaks.
- Paths matter: joints, pores, and small cracks are where water shows up first.
- Long-term benefit: better exterior drainage means fewer repeat problems and less need for aggressive interior fixes.
How to waterproof a basement with interior prep and safe cleanup
Good prep is the step that makes coatings last years, not months. I treat this work as moisture control, not a quick paint job. Clear the space, protect belongings, and wear PPE before we start.
Remove standing water and dry the space
First, pump or wet-vac any standing water. Run fans and a dehumidifier until walls and floors are dry to the touch.
“Almost dry” won’t cut it. Leftover moisture hides leaks and ruins adhesion.
Clean and prep surfaces with a wire brush
Wire brush loose mortar, dirt, and flaking material. Clean surfaces must be grease-free so products bond to solid material.
Treat mold and efflorescence, strip failing coatings
Remove visible mold with approved cleaners and scrub efflorescence away before any sealer goes on. Strip old paint or failing coatings so new sealers can grab the surface.
- Safety & setup: clear, ventilate, and use PPE.
- Drying: fans + dehumidifier until truly dry.
- Prep: wire brush, clean, and strip before applying products.
Repair cracks, holes, and weak points in basement walls and floors
Targeted repairs plug the obvious entry points and stop most repeat leaks quickly. I prioritize stopping active seepage first, then sealing smaller gaps and tightening penetrations that quietly let water in.
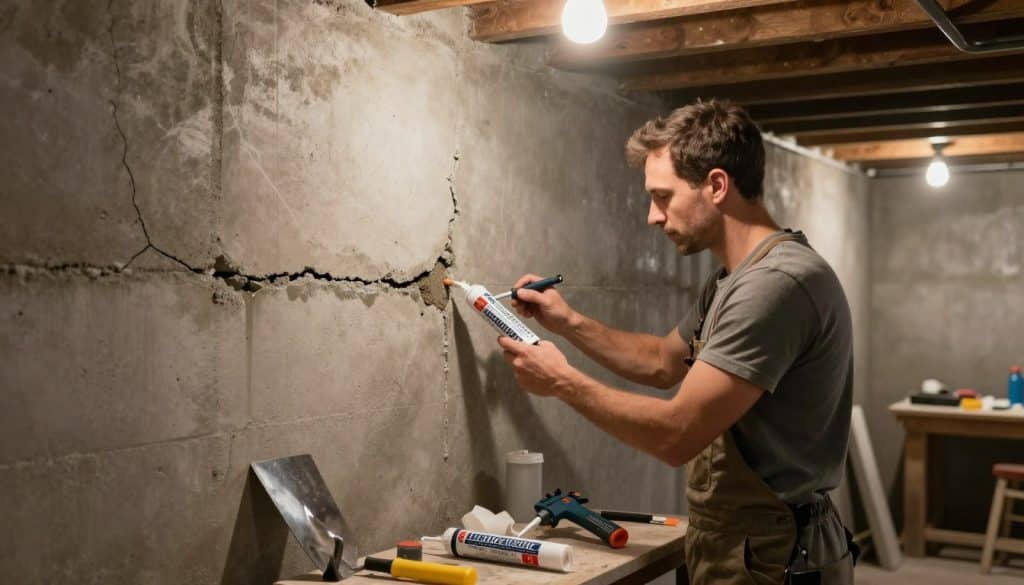
Sealing active leaks and voids with hydraulic cement
When water is flowing through a hole, I use hydraulic cement. It sets fast and can stop seepage even under pressure. Prep means chipping back loose material so the patch locks in and won’t pop out later.
Filling smaller masonry cracks with concrete crack filler or sealant
For hairline cracks a flexible concrete crack filler or masonry sealant often works best. It moves with the wall and keeps the bond. I choose rigid concrete patches only for larger voids where structure needs support.
Resealing windows, doors, and utility penetrations with caulk or foam
Window wells, sills, and utility entries are common weak points. I use silicone caulk for thin joints and expanding foam where gaps are wider. That stops wind-driven rain and runoff from finding paths inside.
- Priority: stop active leaks, then seal cracks, then tighten penetrations.
- Prep: clean, undercut if needed, and remove loose material before repair.
- Limit: repairs help, but if exterior pressure stays high the wall can find new paths — drainage still matters.
Finish with a quick inspection checklist: check repaired cracks, test around windows and penetrations, and confirm the concrete floor and basement walls show no new damp spots before moving on to coatings.
Apply waterproof coatings and sealers the right way
A good coating protects only when the prep and the product match the problem.
Two main choices are penetrating sealants that soak into concrete and barrier-style coatings that form a film on the surface. Penetrants reduce capillary moisture. Barrier products block liquid flow but need a sound surface.
Coverage, conditions, and application
Plan coverage at roughly 75–100 sq ft per gallon and assume at least two coats. Apply when temperatures are above 50°F and the surface is dry.
Allow 2–3 hours between coats or follow product directions. Inspect under bright light for pinholes and thin spots before the final cure.
Positive-side vs negative-side
Positive-side products stop water on the exterior face. Negative-side coatings are an interior option when exterior access isn’t possible. Both have limits if soil pressure remains high.
- Match the product and method to the moisture source.
- Use proper prep; shortcuts cause peeling.
- Coatings help, but exterior drainage often must be fixed for lasting results.
Exterior basement waterproofing steps that often solve the real problem
Stopping run-off at the yard edge often fixes what looks like an interior leak. I start outside because fixing poor exterior drainage is usually the best way to stop recurring intrusion without tearing up a finished space.
Re-grade soil to slope away from the foundation
Move soil so it slopes at least 4–6 inches over the first 10 feet away from the foundation. Proper grading sends rainwater downhill, not toward your walls. That simple change reduces hydrostatic pressure and is one of the most cost-effective exterior solutions.
Improve roof runoff control with gutters and downspout extensions
Keep gutters clean and repair any leaks. Extend downspouts far enough so discharge doesn’t pool near the foundation. A functioning gutter system directs roof water off your lot and prevents repeat wet spots near the foundation.
When an exterior waterproofing membrane and drain board make sense
For severe cases, an exterior membrane paired with a dimple drain board creates a true water barrier on below-grade walls. The mat protects the membrane and channels water down to drain lines, cutting pressure on the foundation.
- Why start outside: stop water before it reaches the wall and you often stop the leak without interior systems.
- Inspection loop: after the next heavy rain, walk the perimeter, check gutter flow, downspout discharge points, and any low spots near the foundation.
- Smart sequence: reduce exterior water first, then add membranes or interior protection only when needed.
Drainage systems that stop recurring leaks
A reliable drain network often ends the cycle of repeat leaks before they start. My work focuses on fixing exterior drainage first. That approach cuts pressure on the foundation and often removes the need for interior tear-outs.
French drains and exterior drain tile
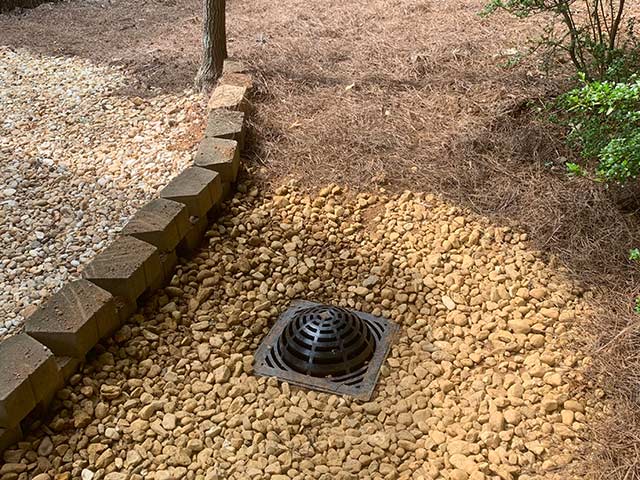
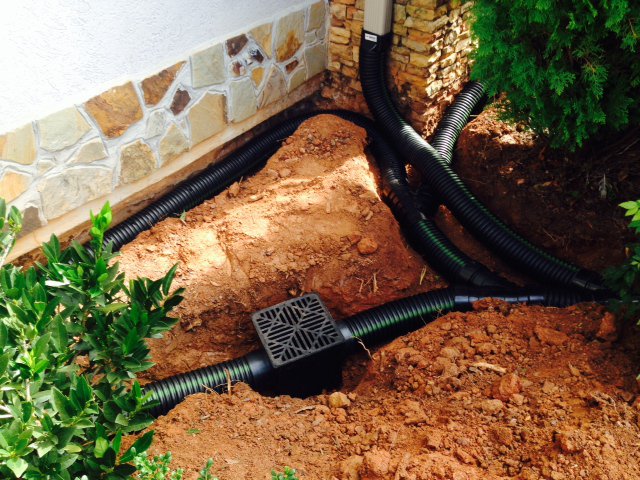
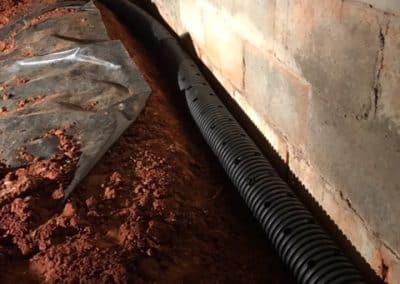
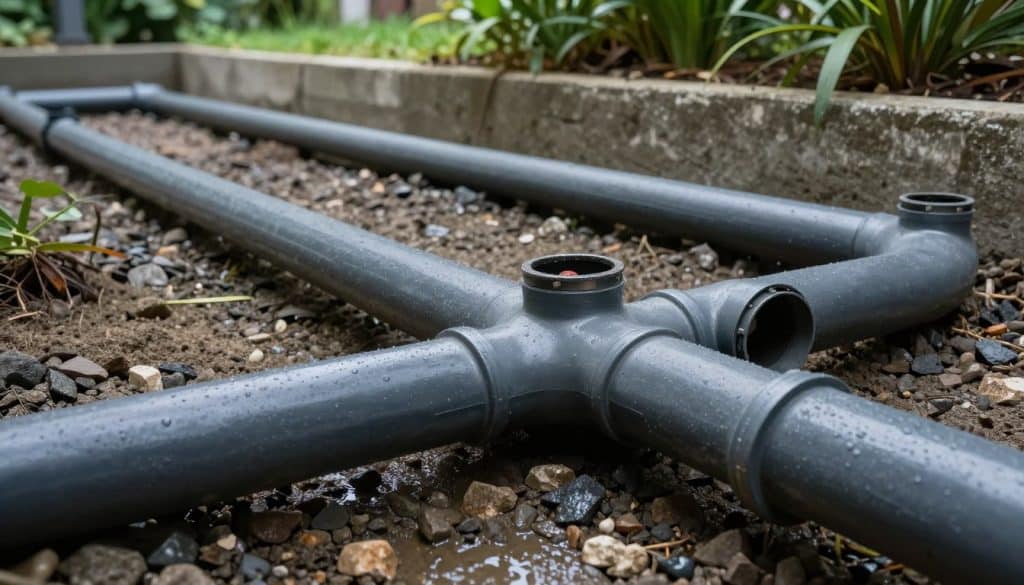
Exterior French drains or drain tile intercept runoff before it reaches the wall. They work best where grading alone can’t move water away from the yard or where heavy rains collect near the foundation.
Interior perimeter drains and sump pumps
Interior perimeter drains routed to a sump pump are a practical solution for persistent infiltration. I recommend them when exterior fixes aren’t possible or when water enters beneath the slab.
Safe discharge and common failures
The system only works if discharge runs far enough from the house. I correct clogged lines, poor discharge spots, and setups that dump water back at the wall.
- What drains do: intercept and move water away, not seal it out.
- Budget tip: targeted exterior drainage is often the less disruptive, lower-cost way.
- Quick checks: inspect downspout discharge, clear clogs, and verify the sump pump outlet direction before upsizing systems.
Planning for long-term protection in existing homes and new basements
Long-term protection starts with choosing the right mix of drainage, membrane, and detail work. I focus on practical systems that address liquid water, vapor, and movement together.
Waterproofing versus dampproofing and code basics
Dampproofing fights moisture migration on masonry surfaces. It’s fine for well-drained sites. Waterproofing is a true barrier against liquid water and usually includes a membrane plus drainage per IRC R406 and IBC 1805 guidance.
Why walls and floor protection work best as a system
Think of protection as layers: exterior drainage, membrane barrier, crack detailing, and interior vapor control. Each part supports the others. Skipping one invites failure elsewhere.
Membrane options and which side matters
Below-grade membranes come as sheet or fluid-applied products. Ask about seams, thickness, cure time, and backfill protection. Positive-side (outside) is ideal when accessible. Negative-side or blind-side choices are practical when excavation isn’t possible.
- Checklist for new builds/renovations: grade and gutters first, specify membrane type, detail slab-wall joints, and plan drainage discharge away from the house.
- Local note: in Metro Atlanta, fixing grading and runoff is often the best way to avoid repeat problems.
Cost, timelines, and when to hire a basement waterproofing professional
An honest price and a clear timeline make the difference between a lasting repair and a repeated expense. I give Metro Atlanta homeowners realistic expectations so they can pick the best way forward.
Typical professional basement waterproofing runs from roughly $2,300–$6,800, with many jobs near $4,500. That usually covers diagnosis, labor, basic drain work, and finish details. Costs vary with access, exterior excavation needs, and severity.
DIY costs and sensible DIY choices
Materials often cost $3.70–$10 per sq ft. DIY makes sense for prep, minor sealing, and coatings when the source is controlled. Avoid taking shortcuts that sacrifice quality; you may pay twice.
Red flags that mean call a pro
- Bowing or leaning walls.
- Large or widening cracks that leak under pressure.
- Repeated leaks after storms or after prior fixes.
Prioritize fixes for budget impact
Start with exterior runoff and grading. Then seal obvious entry points and repair cracks. Add coatings or drainage systems only after the source is reduced. That sequence is often the best way to cut long-term cost and preserve quality.
At Drainage First I offer fast written estimates and quick starts. Call me for a realistic plan and scheduling so work happens before the next heavy-rain season.
Drainage First: a smarter approach to waterproofing basement walls in Metro Atlanta
I focus on fixing the outside load before I touch interior finishes. That simple sequence lowers hydrostatic pressure and often ends repeat leaks without disruptive interior systems.
Locally owned and operated for over 20 years with hands-on service
I’m the owner and I meet customers on site. My crew knows local soils and rain patterns. That local experience matters when diagnosing water entry.
Why focusing on exterior drainage can avoid costly interior drain systems
Targeted grading, extended downspouts, and spot drains often remove the driving force behind leaks. When exterior drainage solves the problem, interior systems and major tear-outs are rarely needed.
Fast written estimates and quick project starts for homeowners
Same-day written estimates are common. If work is needed, we schedule quick starts so problems get fixed before the next heavy rain.
Service area and how to reach us
Drainage First serves Metro Atlanta, GA and nearby areas. Call (678) 389-9544 or email carter@drainagefirst.com for direct scheduling.
- What to have ready when you call: where you see water, when it happens, and photos after rain.
- We diagnose exterior drainage first, then propose interior or exterior solutions as needed.
- Hands-on owner service, clear estimates, and practical, affordable plans.
Conclusion
The smartest repairs begin by reducing the load outside before sealing interior concrete and walls.
Look for simple signs you should not ignore: stains, efflorescence, musty odors, damp walls, and active cracks. These point at water entry and need prompt attention.
My method is clear: diagnose the source, cut exterior runoff, prep and repair concrete and walls, then apply coatings only where they make sense. That sequence is often the best way to stop recurring seepage in Metro Atlanta homes.
This weekend: clear gutters, extend downspouts, and check low spots near grade. Schedule a pro when leaks repeat, cracks widen, or walls bow.
For fast, personal service and a same-day written estimate, call (678) 389-9544 or email carter@drainagefirst.com. I’ll help you find the right waterproof basement solutions for your home.