Can a simple, well-placed barrier stop recurring wet walls and musty smells in your home?
I open by explaining what a membrane for basement waterproofing is and why many Metro Atlanta homes face persistent dampness. Many issues start outside. Poor grading and clogged drains let water find weak spots.
In this guide I will walk you through diagnosing the problem, choosing the right material, and installing it correctly. I focus on practical, cost-effective fixes that stop water at the source before recommending disruptive interior work.
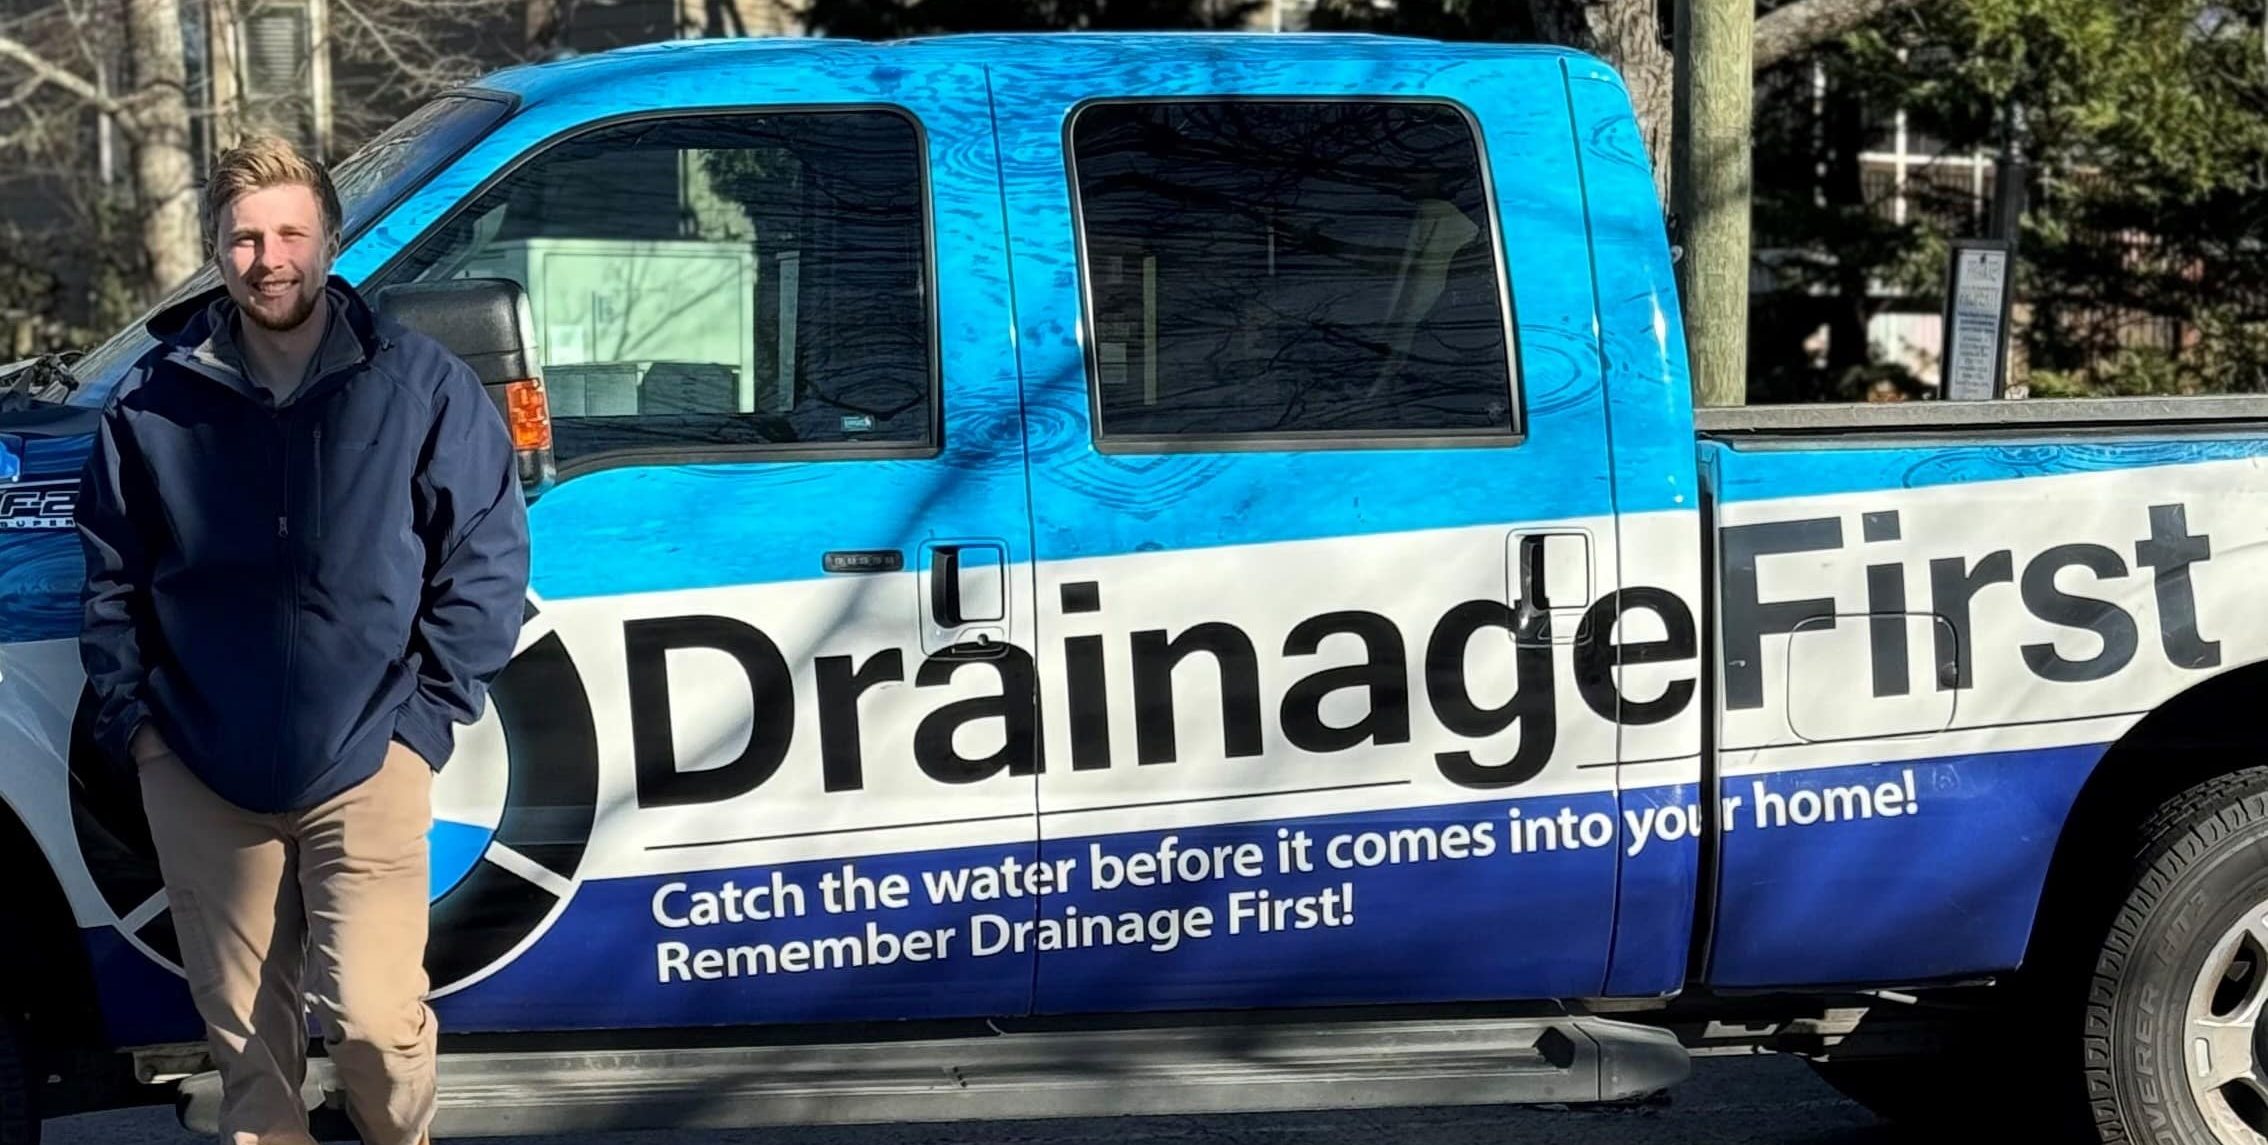
Drainage First is locally owned and operated. We’ve served Metro Atlanta and nearby areas for over 20 years. I make my own service calls and provide same-day written estimates, faster start times, and a smarter, more affordable approach.
If you want help, call me at (678) 389-9544 or email carter@drainagefirst.com for a same-day estimate.
Key Takeaways
- Understand the role of a membrane within a full waterproofing system.
- Start by diagnosing exterior drainage and grading first.
- Choose materials that work with proper detailing and drains.
- We prioritize cost-effective fixes that stop water at its source.
- Contact us for a same-day written estimate and personal service.
Why Basements in Metro Atlanta Get Wet and What a Waterproofing Membrane Does
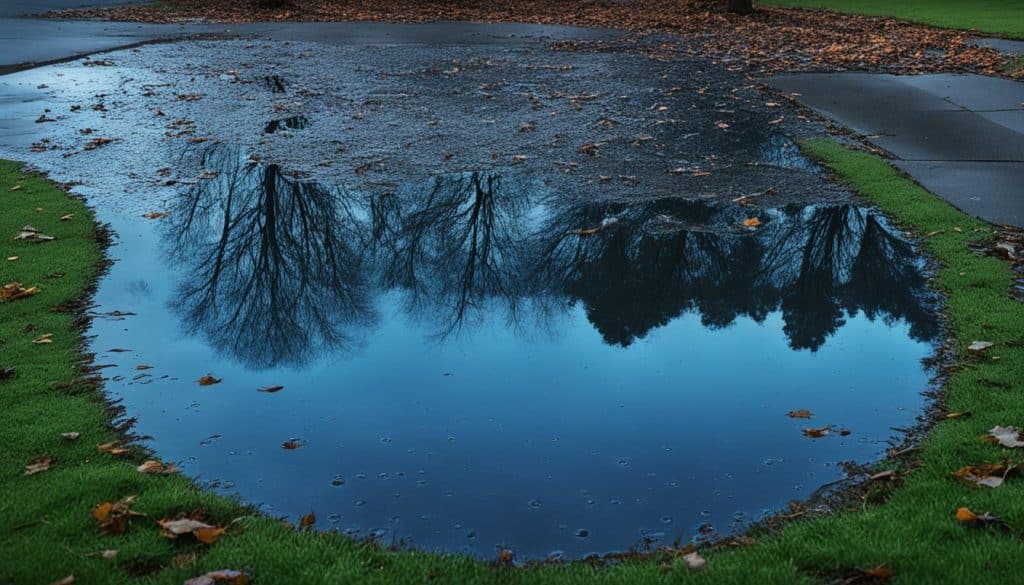
Most wet-wall problems begin long before you see a single drip inside the house. Heavy rain and clay soils around Atlanta keep the ground saturated. That repeated wetting pushes water into weak spots at the wall line.
How water infiltration starts at the foundation wall and surface
Water infiltration often begins where the foundation wall meets backfill or where surface runoff pools. Downspout discharge, negative grading, and splashback send water to the same low points every storm.
Moisture vs. bulk water and why the right barrier matters
Homeowners usually see two problems: moisture like damp walls and musty smells, or bulk water such as puddles and active leaks. A proper waterproofing membrane acts as a continuous layer that resists water movement through the wall.
- Typical entry points: small cracks, construction joints, penetrations, and transitions.
- Fix surface drainage first; it often controls what happens below grade.
- Before choosing products, identify whether pressure-driven water or simple moisture is the issue.
Identify the Source of Water Before Choosing Any Waterproofing System
I start every job by finding what force is moving water. I want to know if the issue is pressure, wicking, or indoor air. That diagnosis drives the right repair.
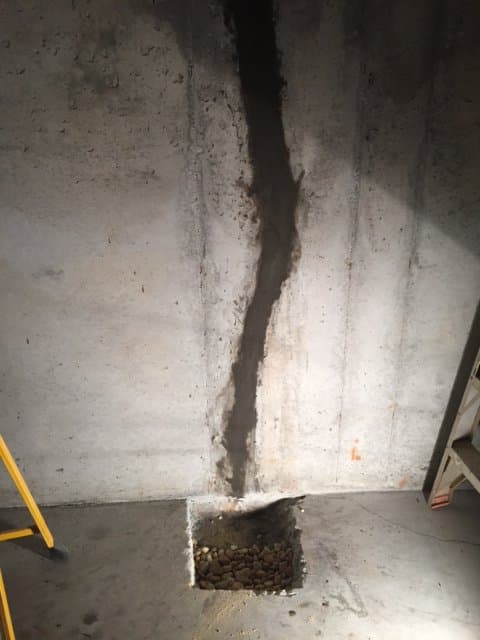
Hydrostatic pressure pushing water through cracks and joints
Hydrostatic pressure happens when saturated soil presses against your foundation. That pressure finds weak spots like cracks and joints and forces water into your home.
Capillary action through concrete pores
Concrete can act like a sponge. Capillary action pulls moisture through tiny pores even when no visible leak exists.
Condensation on cooler walls and floors
Warm, humid indoor air meeting cooler walls floors causes droplets to form. This can mimic leaks and lead to mold growth if left unchecked.
How poor drainage and grading worsen moisture over time
Poor drainage lets water sit against the wall. Over months and seasons, pressure and infiltration get worse and staining increases.
- Look for staining, efflorescence, and musty odor.
- Note seasonal patterns and downspout locations.
- Check cracks, joints, and concrete surface condition.
- Decide whether pressure or air-side moisture is dominant.
- Choose a system only after confirming the cause.
Membrane for Basement Waterproofing: Picking the Right Material for Your Foundation
Not every product suits every wall—selection depends on shape, substrate, and site risk. I walk homeowners through practical choices so you know what each material does and why it matters.
Sheet systems vs. liquid-applied coatings
Sheet products give consistent thickness and predictable laps. They work well on straight, simple concrete walls where overlaps are easy to seal.
Liquid-applied coatings conform to odd shapes and details. They rely on full, even coverage and proper cure conditions to perform.
Rubberized asphalt sheet options and adhesion
Rubberized asphalt sheets offer flexibility and good initial tack. But adhesion matters—poor bond lets water track behind the layer.
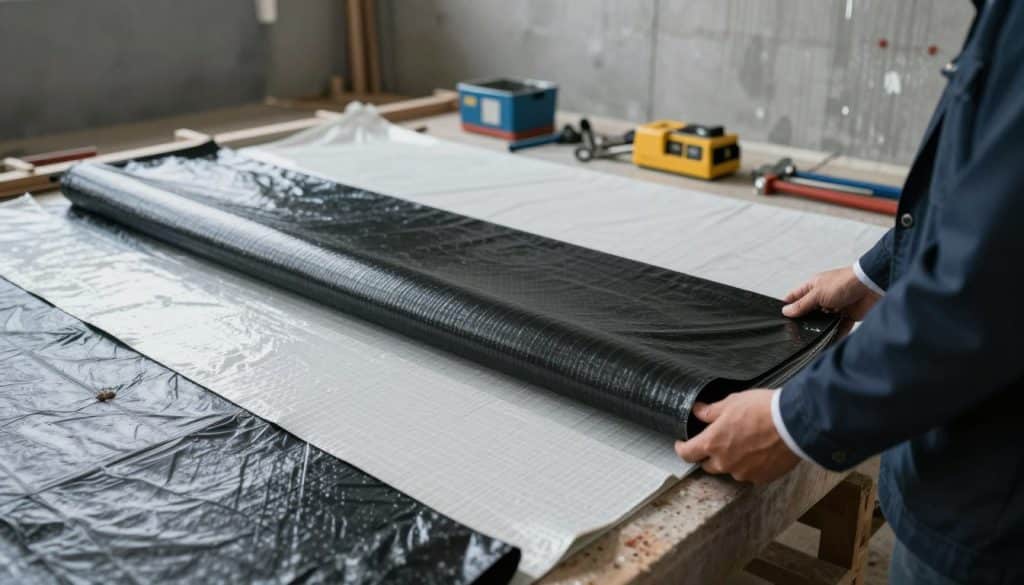
HDPE sheet as a durable exterior barrier
HDPE sheets bring puncture resistance and long-term durability. They pair best with solid drainage and careful backfill to protect the sheet and preserve protection.
- Match products to the substrate: poured concrete, block, ICF, or treated wood need specific primers and adhesive methods.
- Consider your risk: occasional dampness, recurring seepage, or active leaks under pressure will change the recommended material and applications.
- Remember: proper installation and drainage usually determine real-world results more than the chosen material.
Dampproofing vs. Waterproofing Membrane Systems Under Real-World Conditions
Not every damp wall needs the same level of protection—matching the solution to the risk matters. I look at site history, visible stains, and whether water pools near the foundation before I decide.
Dampproofing handles light, non-pressurized dampness. It sheds surface moisture and helps with condensation and minor seepage.
True waterproofing is different. It is built to stop water under hydrostatic pressure. If soil holds standing water, seasonal flooding occurs, or you see repeated seepage marks, you need a higher-level waterproofing system.
- I check for standing water, seasonal patterns, and recurring stains to set the right scope.
- Under pressure, thin coatings fail; seams and continuity become critical.
- To prevent water infiltration you need continuous coverage, sealed transitions, and drainage that relieves pressure.
My rule is simple: bulk water equals true waterproofing measures. I avoid overbuilding when dampproofing will solve the issue. That keeps work focused and cost-effective.
Exterior Positive-Side Waterproofing Membranes and Why They Usually Work Best
A properly placed outside layer changes how water hits and moves around your home. I prefer working on the exterior because it stops water before it reaches the structure. That simple choice reduces repair needs and slows long-term decay.
How an outside installation keeps water away from the structure
Placing the barrier between soil and wall prevents water entry at the source. It protects concrete and block walls and keeps moisture out of the wall assembly.
Why external pressure can help a correctly installed layer
When installed tightly, ground pressure pushes the layer into contact with the wall. That pressure helps the seal hold and limits tracking behind the layer.
Visibility before backfill improves long-term results
Working outside lets us inspect laps, seams, and contact. We fix wrinkles, re-roll weak spots, and verify coverage before the trench goes back. That attention during installation drives better results.
- Exterior work stops water before it touches the structure.
- Proper grading and drains must work with the barrier.
- Interior-only fixes manage symptoms; exterior fixes address causes.
Tools, Materials, and Site Conditions for Successful Membrane Installation
Start with the right gear and a clear plan—installation quality is mostly about preparation. I bring the basics every job so there are no surprises on site.
Common tools I use
I rely on a paint roller, smoothing roller, utility knife, tape measure, trowel, and brush. These simple tools let me handle flats, corners, and tight details.
Weather, temperature, and cure planning
Minimum application temperature is 50°F. Some low-temperature products can be handled down to 14°F, but I condition rolls to at least 50°F before use.
Do not install during rain or snow unless the wall and trench are fully protected. Forecast and cure windows determine whether a job moves forward.
Storing and handling products
Store rolls upright with the selvedge side up. If left outside, cover them with an opaque tarp to block UV and moisture. Proper storage prevents edge damage and material “memory.”
- Order tools and materials ahead so work flows without delay.
- Expect prep and detailing to take more time than surface coating alone.
- Use tape and proper adhesives only on dry surfaces and in the right conditions.
Surface Preparation: The Step That Determines Waterproofing Results
A clean, even wall is the real secret to long-lasting protection. Surface prep sets the stage for reliable adhesion and lasting results. I always treat prep as the most important task on site.
Cleaning and drying the wall surface for reliable adhesion
Remove dirt, loose mortar, ice, and debris before any product touches the wall. A dry, dust-free surface is essential because adhesion depends on contact, not on luck.
Repairing cracks, holes, and joints before applying any membrane
I seal small cracks under 1/4 inch with elastomeric sealant. Larger cracks get a concrete repair product and proper tooling. Membranes are not a fix for ongoing structural movement.
When to do an adhesion test on concrete
Perform an adhesion test on new concrete, dusty surfaces, or where old coatings exist. If the test fails, correct the substrate or choose a different primer so the layer bonds where it matters—at the foundation wall and transitions.
- Why prep matters: even the best product fails on an uneven or wet surface.
- My sequence: remove debris, smooth protrusions, confirm dryness, then test adhesion.
- Prevent water infiltration: proper prep stops water tracking behind the layer and limits future repairs.
How to Install a Self-Adhered Waterproofing Membrane on Foundation Walls
A few precise layout lines and proper primer determine whether the system holds under backfill.
Mark and prime first. Snap a chalk line so the layer sits below grade and stays hidden after backfill. Apply primer with a brush or roller on a clean, dry surface to improve adhesion and long-term bond.
Corner and detail work
At inside and outside corners use gussets to avoid stress points. Cut 12-inch-wide reinforcement pieces and split them 6 inches on the wall and 6 inches on the footing where needed. This creates a watertight transition across the plane change.
Seams, overlaps, and rolling
Maintain a minimum 3-inch overlap between strips. Keep runs straight and use a firm roller to press each seam into full contact. Use compatible tape at vertical joints only when specified by the product to prevent joint infiltration.
Footing transition and terminations
At the footing-to-wall junction lay a 1/2-inch bead of elastomeric sealant before applying the roll. Mechanically fasten the top edge with a termination bar. Finish the top with a sealed joint so water cannot slip behind the layer.
- Step checklist: mark perimeter, prime surface, detail corners, overlap 3″+, roll firmly, seal transitions.
- Think in systems: every seam, corner, and termination must join to form one continuous barrier.
How to Install an HDPE Water Barrier Membrane and Seal Seams Correctly
Small details in trenching and sealing decide whether an HDPE sheet succeeds or fails.
Trench and grade rules: dig so the trench is about 1/2 inch shallower than the sheet depth. Extend the top of the sheet roughly 2 inches above final grade to help prevent surface runoff from flowing over and behind the layer.
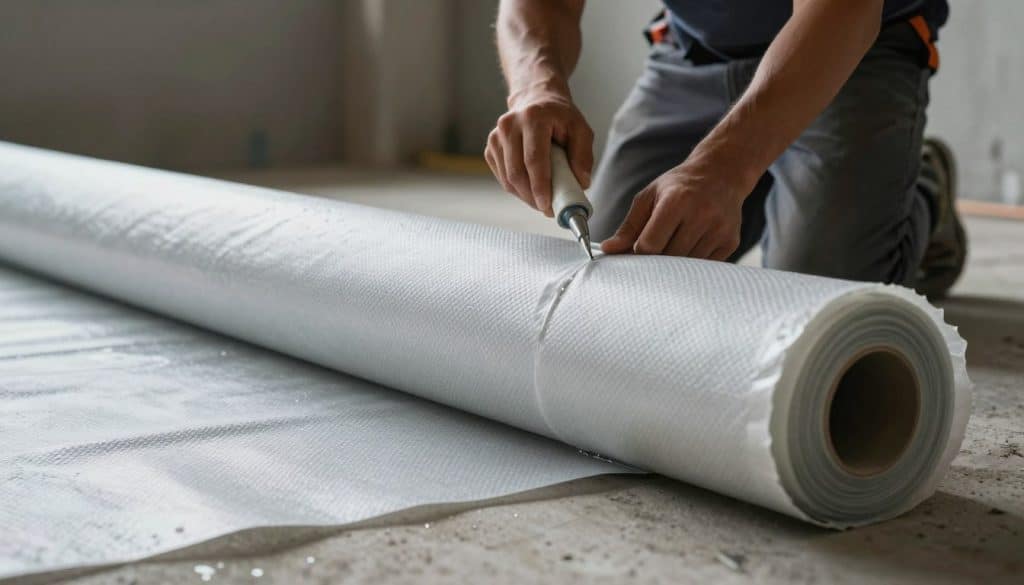
Seams, overlap, and tape
Overlap adjacent segments at least 2 feet. Use sealant tape vertically and horizontally across seams to stop joint infiltration. Press tape onto a clean, dry surface and smooth out wrinkles to avoid channels.
Optional adhesion and stability
Adhering the sheet to the foundation wall is optional. Use a compatible adhesive or self-adhering option when you want extra stability during backfill. Check adhesion before burial to ensure proper bond.
- Where it fits: an exterior water barrier limits soil-side movement next to the foundation.
- System note: pair the sheet with drains and grading to truly prevent water entry.
- Practical cautions: keep surfaces clean, avoid gaps at grade transitions, and remove wrinkles.
Protecting the Membrane During Backfill and Promoting Drainage Around the Home
Backfill work often decides whether a good install becomes a lasting fix. I treat protection and grading as part of the same job.
Why protection matters. Many failures happen after installation—during backfill. Rocky soil can puncture a layer. Heavy clay holds moisture and presses constantly against the wall. I use protective panels when site conditions threaten the layer’s integrity.
When to use protective panels
- Rocky backfill: add sand and a rigid panel to prevent tears.
- Clay soils: add a panel to separate wet soil from the surface and reduce pressure.
- Code guidance: slope soil and direct runoff to the weeping tile where applicable.
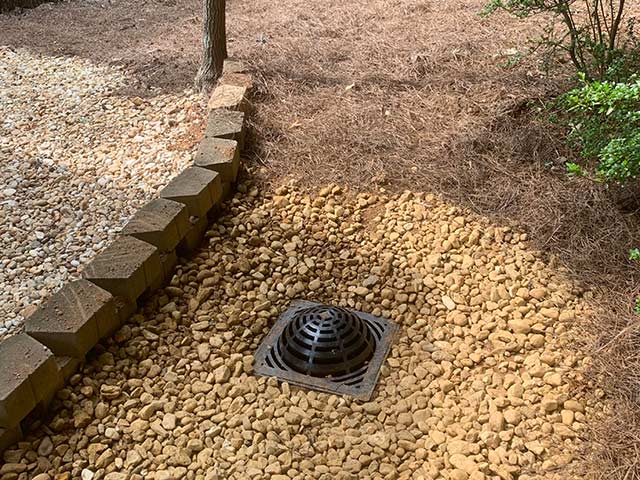
Drainage and grading that often fix the real issue
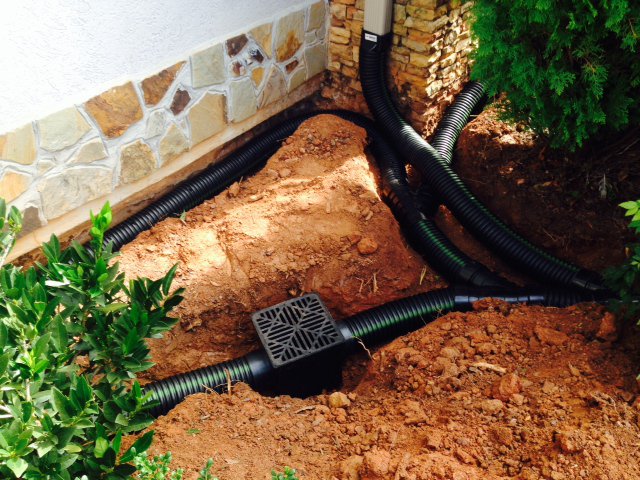
Good drainage reduces water load dramatically. Simple changes—extended downspouts, a positive slope, and corrected low spots—stop leaks more often than interior fixes.
Our Drainage First approach: move water away from the foundation, not just manage it after it enters. Products and layers matter, but the surrounding soil and water behavior decide long-term performance.
- Check downspouts are extended away from the building.
- Confirm soil slopes down at least 6 inches over 10 feet.
- Fix low spots and route runoff away from the foundation line.
Interior Basement Waterproofing Methods When Exterior Access Is Limited
Limited exterior access doesn’t mean you have to accept wet, musty walls as permanent. I explain practical interior options that manage moisture and protect finished space.
Sealants and coatings for minor seepage
Use sealants and breathable coatings when seepage is light or condensation is the main issue. These products reduce surface dampness and slow moisture movement through concrete pores.
Reinforced wall liners with a drainage path
Reinforced liners create a clear channel behind finished walls. They guide collected water down to a drainage system. This protects drywall and keeps wet walls from spreading moisture across the room.
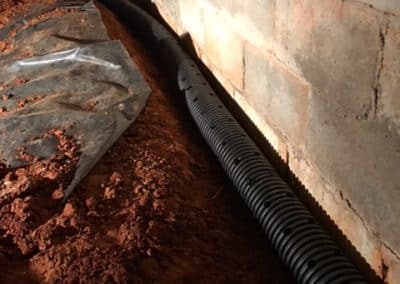
Interior French drains and sump pumps
An interior French drain is a trench around the perimeter that captures water and sends it to a sump basin. A sump pump then expels that water away from the house. Together they form a dependable system to manage groundwater and limit infiltration.
- Real expectation: interior work usually manages water rather than stopping it at the source.
- Best practice: improve exterior grading when possible to truly prevent water infiltration.
- When to pick interior: constrained access, immediate protection of finished space, or as part of a staged repair plan.
Why Drainage First Is Metro Atlanta’s Smarter, More Affordable Basement Waterproofing Solution
You get faster results when diagnosis and repair start at the exterior, not after the water arrives. I focus on correcting the real cause—poor drainage and bad grading—so repairs last and cost less.
Locally owned and hands-on. I’ve run Drainage First in Metro Atlanta for over 20 years. I make the service calls myself so you get clear answers and no handoffs.
Speed and transparency. Expect a written estimate the same day and faster start times. We move quickly when the site and weather allow because time matters when water threatens your foundation.
- I look outside first — drainage and grading usually drive wet walls.
- Hands-on service calls, clear communication, and practical recommendations that match the problem.
- We provide same-day written estimates so you can order work with confidence and see results sooner.
Service area and contact. We serve Metro Atlanta, GA and nearby areas. Call (678) 389-9544 or email carter@drainagefirst.com.
Before you call, have photos ready, note where water shows up, and tell me when it happens. That info saves time and helps me give a better, more accurate plan on day one.
Conclusion
A clear plan that matches site conditions beats any product claim. A membrane is only as good as the waterproofing system it joins. Match the solution to the water conditions around your foundation and structure.
Follow a simple order: identify the source, pick materials that suit the wall and concrete, prep the surface, detail seams and footings, and protect the installation during backfill. Pay attention to cracks, joints, and the footing-to-wall area; proper seal and overlap discipline outperform thicker products.
Exterior measures usually give the best long-term protection because they keep water off the walls and reduce pressure on the building. If you want me to inspect and recommend the right order of fixes, call Drainage First at (678) 389-9544 or email carter@drainagefirst.com for a same-day written estimate.