Have you ever wondered does crawl space encapsulation add value to home? or if sealing the area under your house really boosts property worth, or if it’s just another upgrade buyers skim over?
I’m the owner of Drainage First, a locally owned and serving Metro Atlanta drainage and grading company. I lead hands-on projects and start with the outside work first. Poor grading and standing water often cause the issues that make interior fixes fail.
In plain terms, encapsulation can add value — but only when groundwater and moisture pathways are controlled. An encapsulated crawl space with a durable vapor barrier can improve energy efficiency, reduce pests, and help indoor air quality.
Typical costs range from about $5,000–$15,000 depending on conditions. I’ll explain what buyers look for, when an encapsulate crawl project makes sense, and why fixing exterior drainage first matters.
For a same-day written estimate, call (678) 389-9544 or email carter@drainagefirst.com. I’ll review your site and tell you if the investment will pay off for your property.
Key Takeaways
- Fix exterior drainage first; it prevents recurring moisture and repairs.
- An encapsulated crawl with a vapor barrier can improve energy and air quality.
- Benefits depend on local groundwater, humidity, and foundation condition.
- Costs typically run $5,000–$15,000; documentation helps resale trust.
- Call Drainage First for a same-day written estimate and an owner-led review.
What crawl space encapsulation is and what it changes in a home
Sealing the area beneath a house changes how moisture, air, and pests act under your floors. I define this process as creating a controlled, sealed environment under the floor that stops ground vapor and outside air from driving humidity and mold upward.
Definition and the role of a vapor barrier
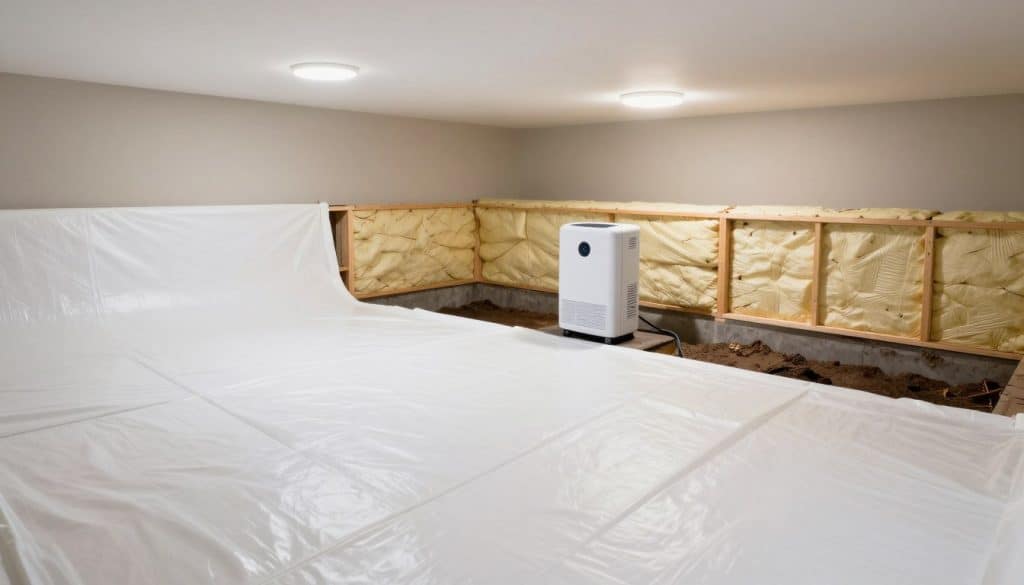
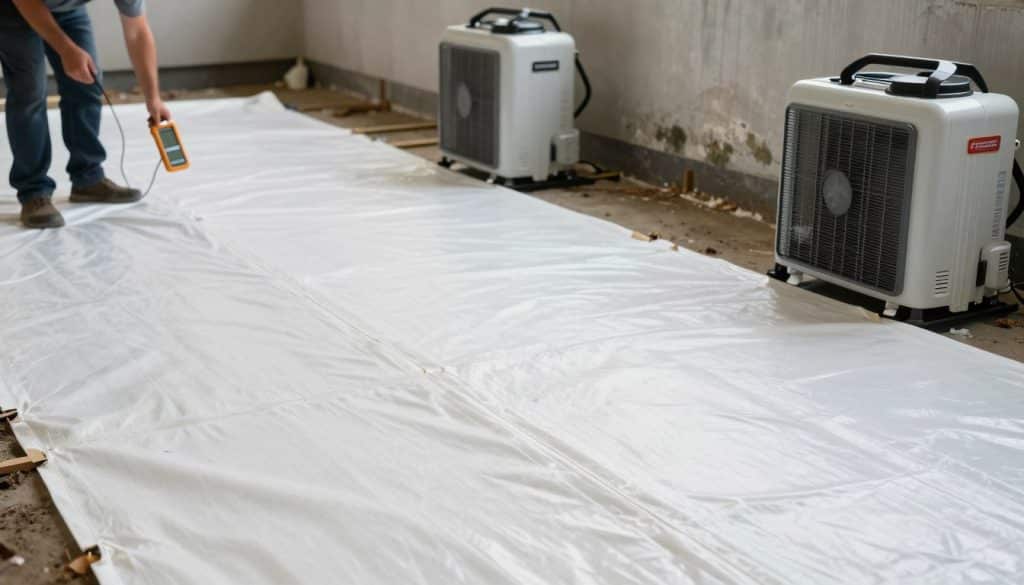
Vapor barrier means a thick polyethylene sheet applied to floors and walls. It blocks water vapor from the soil and limits humidity that feeds mold, odors, and wood rot.
Typical steps and components
- Clear debris and level the ground.
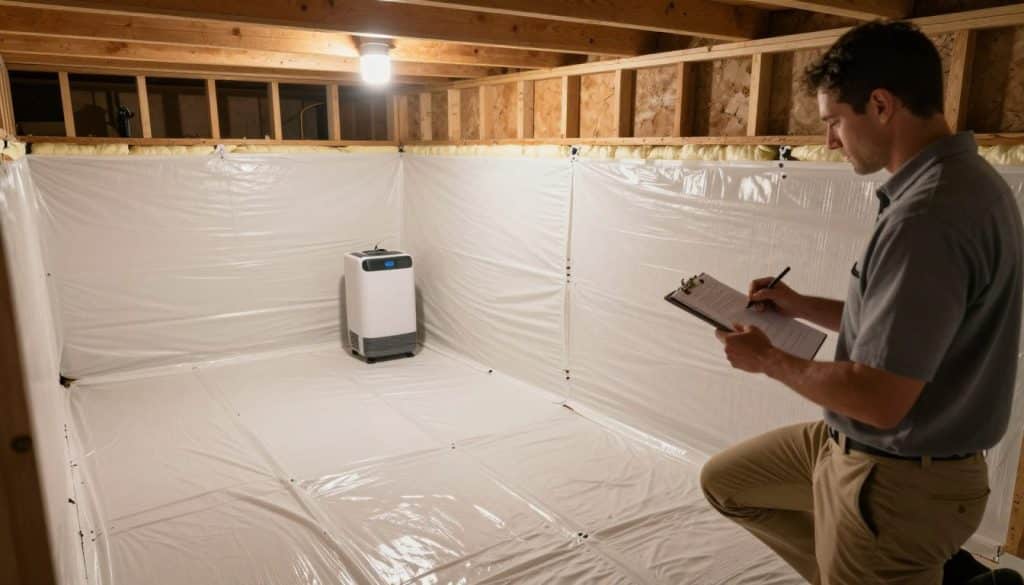
- Install a polyethylene barrier on floors and walls, then seal seams and penetrations.
- Close vents and access points, add insulation where needed, and consider a dehumidifier for conditioning.
Common crawl types and why it matters
Homes usually have vented, unvented, or fully sealed configurations. A vented system lets outside humid air in. An unvented or fully sealed system uses a barrier and mechanical moisture control.
Practical checkpoint: if you see standing water or steady seepage, handle exterior drainage and grading first. Encapsulation is effective, but only after water pathways are managed.
Does crawl space encapsulation add value to home in today’s market?
I walk properties every week and buyers ask about moisture history first. I tell them a properly sealed area under the floor speaks louder than cosmetic upgrades. It signals fewer future repairs and better foundation care.
Why buyers value moisture control, durability, and fewer future repairs
Moisture control reduces mold risk and rot. That lowers inspection red flags and repair estimates.
Durability shows up in solid subfloors, intact insulation, and stable framing. Buyers pay more for confidence in structure.
Resale appeal: how an encapsulated crawl space can stand out during showings
- A clean, bright encapsulated crawl space reads as well maintained.
- It cuts musty odors and improves perceived indoor air quality.
- Documentation of the work builds trust and removes buyer hesitation.
Bottom line: treat encapsulation as a risk‑reduction investment. If exterior water pathways are fixed first, the perceived value rises significantly. If active water remains, most inspectors and buyers will still see a problem.
Benefits homeowners notice after encapsulating crawl spaces
After sealing the area under your floors, many homeowners notice quick, practical changes within days. I focus on observable wins that matter in metro Atlanta: less musty smell, lower indoor humidity, and fewer pest signs.
Improved indoor air and fewer odors
First-week changes are often striking. The musty odor fades as less vapor rises through floor gaps. That means better indoor air and fewer allergy triggers for occupants.
Mold and moisture control
Sealing with a quality vapor barrier limits moisture movement. That protects wood framing, subfloors, and insulation from mold and long-term damage.
Pest and rodent deterrence
When we seal gaps and close entry points, pests find fewer paths inside. A tighter barrier reduces the chance of infestations and the repairs that follow.
Comfort, HVAC performance, and lower maintenance
Steadier temperatures above the sealed space cut HVAC runtime and boost energy efficiency. Over time, homeowners see fewer moisture-related issues, less wet insulation, and fewer callbacks for repairs.
- Less musty smell and sticky humidity in the first week.
- Lower mold risk and protected subflooring.
- Fewer pests and easier long-term upkeep.
Reality check: these benefits work best when persistent water problems are fixed first. If standing water remains, handle drainage before full encapsulation for lasting results.
How encapsulation supports energy efficiency and comfort
When we stop outside air from sneaking under the floor, energy use and comfort often improve. I focus on real, measurable changes that matter in Atlanta’s humid climate.
How sealing the crawl space reduces outside air infiltration
Sealing and a durable vapor barrier cut uncontrolled air exchange under the house. That lowers the humidity load on your HVAC and keeps conditioned air where it belongs.
Less infiltration means ducts in the space carry air at more predictable temperatures. That reduces runtime and stress on systems.
What “up to 20%” energy savings can mean for heating and cooling costs
“Up to 20%” is a ceiling, not a promise. Real savings depend on insulation, duct condition, existing leaks, and how wet the area was before work.
- Lower humidity can make rooms feel cooler in summer without lowering the thermostat.
- Reduced heat loss in winter helps cut furnace runtime.
- Use last year’s seasonal bills and apply a conservative 5–15% range to estimate payback.
Practical note: energy and comfort gains last only when exterior drainage and moisture paths are fixed first. That’s the investment step I always check on site.
Costs to encapsulate a crawl space and what affects the price
Size, access, and active moisture problems are the biggest cost drivers. A small, dry area will sit near the low end of the range. Hard-to-reach or wet sites push prices higher.
Typical cost range and what’s usually included
Expect a national-style range of about $5,000–$15,000 for most projects. Typical installation includes cleanout, sealing of floors and walls, a quality vapor barrier, and a basic insulation plan. Optional dehumidification or conditioning raises the price.
Factors that drive costs
- Size and access difficulty of the area.
- Prep work: mud-out, mold remediation, or sump work.
- Material grade for the barrier and any insulation chosen.
- Whether a dehumidifier or conditioning system is installed and sized.
Long-term ROI
The upside is practical: avoided repairs (wood rot, mold), lower utility bills from better efficiency, and reduced risk of foundation damage. Incentives exist but vary—verify local program rules before assuming a rebate.
Practical note: fix exterior drainage first. Handling root water problems often lowers the scope and overall costs of the encapsulation project, protecting your investment.
Moisture, water, and foundation risks that encapsulation may not solve alone
Fixing runoff and poor yard grading often makes the biggest difference before any barrier or conditioning work begins. Encapsulation controls vapor and air movement under the floor. But bulk water entry is a different problem.
When groundwater, poor grading, or clogged systems keep humidity high
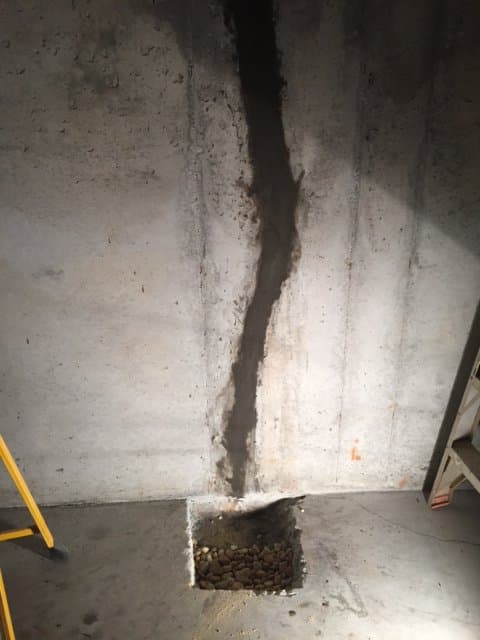
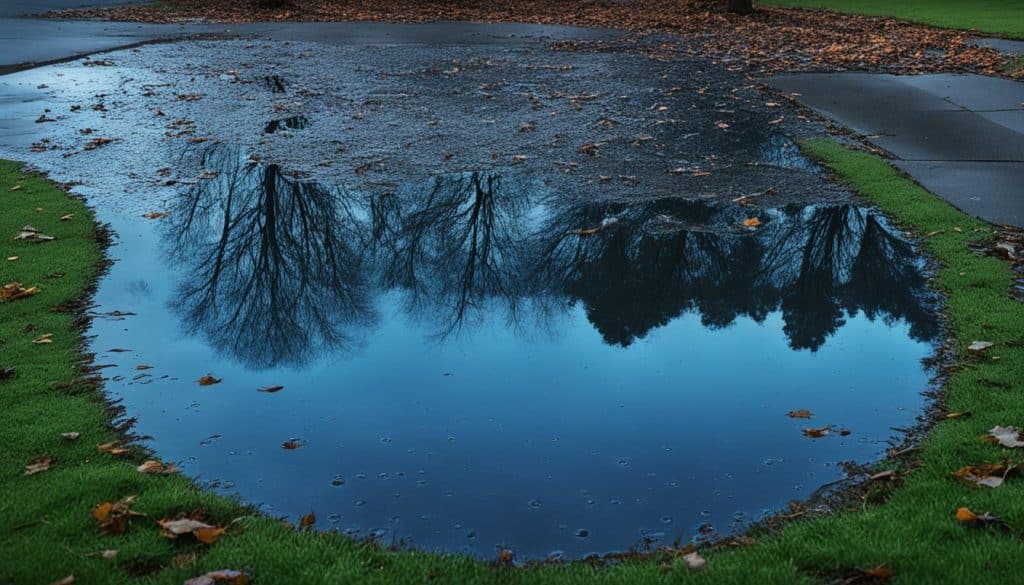
In Georgia, saturated soils, downspouts dumping near foundations, and clogged exterior drains keep humidity and water pressure against walls. That forces moisture into the area despite a sealed liner.
Why exterior drainage is often the real root cause of water intrusion
- Limit of a barrier: it blocks vapor but will not stop standing water or active leaks.
- Common signs: wet soil, standing water, stains, efflorescence, or recurring mold after an install.
- Cost risk: encapsulating over an active water problem can mean paying twice—first for the liner, then for drainage repairs.
- Best practice: stop water at the source outside, fix grading and drains, then seal and condition the area for a stable environment.
I inspect yards and grading before recommending work. When exterior problems are solved first, the barrier and insulation perform for years and the risk of foundation damage drops.
Drainage First’s smarter approach for Metro Atlanta homeowners
My first step is always an outside inspection of gutters, downspouts, and grading, because that tells me if sealing will last.
Locally owned and operated for 20+ years in Metro Atlanta, I know local soils, slopes, and storm patterns. That experience helps me spot the real water source for each property quickly.
Hands-on service and fast estimates: I make the service calls myself and provide a same-day written estimate so homeowners can start work sooner and avoid guessing at costs.
- Drainage first mindset: I look at how water moves around your home before recommending any sealing under the floor.
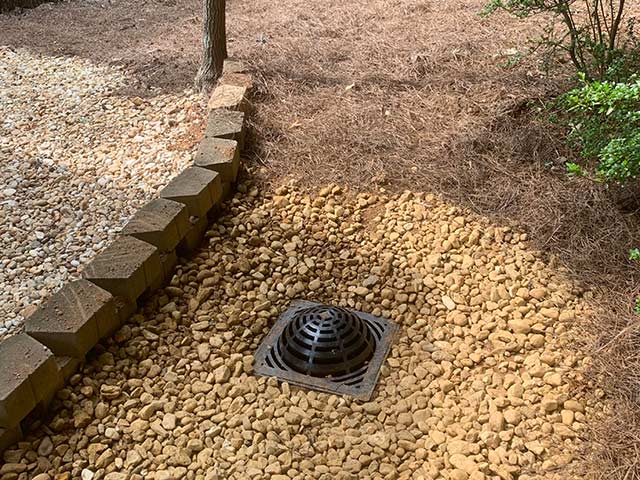
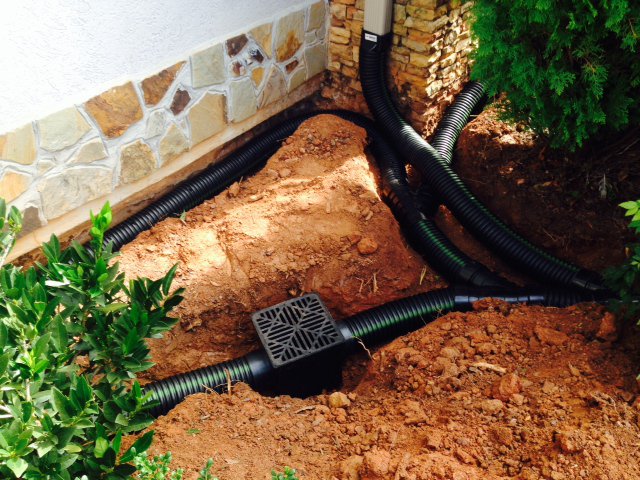
- Cost-effective fixes: We focus on exterior drainage and grading rather than disruptive, costly interior systems when that solves the problem.
- When to combine work: If bulk water can be stopped outside, we pair grading improvements with space encapsulation and conditioning for lasting results.
Practical outside-first checkpoints I use: downspout discharge, surface grading away from the foundation, and clear drainage pathways. Fixing those often lowers overall costs and the risk of future repairs.
Ready for an owner-led site review in Metro Atlanta? Call Drainage First at (678) 389-9544 or email carter@drainagefirst.com.
How to decide if crawl space encapsulation is the right investment for your home
Start with the signs. Look for persistent high humidity, musty odors, visible mold, sagging insulation, pests, or recurring moisture after rain. Any of these indicate the area under your floors is affecting indoor air and comfort.
What to evaluate before spending
Check where water travels around your foundation. Inspect gutters, downspouts, and grading for paths that push water toward the house.
Open the access and note existing damage: rotted wood, wet insulation, or efflorescence. That tells you whether drainage fixes come first or an installation is the next step.
Decision path for a smart investment
- Stop bulk water first: fix grading and drainage so work lasts.
- Choose coverage: decide on vapor barrier, sealing level, and insulation strategy.
- Plan systems: consider dehumidification or conditioned mechanical systems if humidity remains high.
Documenting the project for resale
Take before/after photos and keep contractor paperwork and warranties. Save notes on drainage work and any permits.
Why this matters: clear documentation reassures buyers, reduces inspection friction, and supports the property’s maintenance story during negotiations.
Conclusion
Smart sequencing protects your investment: fix exterior water paths first, then complete a sealed install with a quality vapor barrier and insulation. That approach stops recurring moisture problems and limits future repairs.
An encapsulated area can improve indoor air, lower energy use, cut mold risk, and steady comfort. It also helps buyers trust the property when documentation and photos back the work.
If you see standing water, musty odor, or high humidity, start by finding the pathway and fixing the cause—not just masking symptoms. For a fast, owner-led assessment and same-day written estimate in Metro Atlanta, call Drainage First — (678) 389-9544 – carter@drainagefirst.com.