Have you wondered whether sealing that low area under your home really solves long-term moisture and comfort problems? Or is crawl space encapsulation worth it?
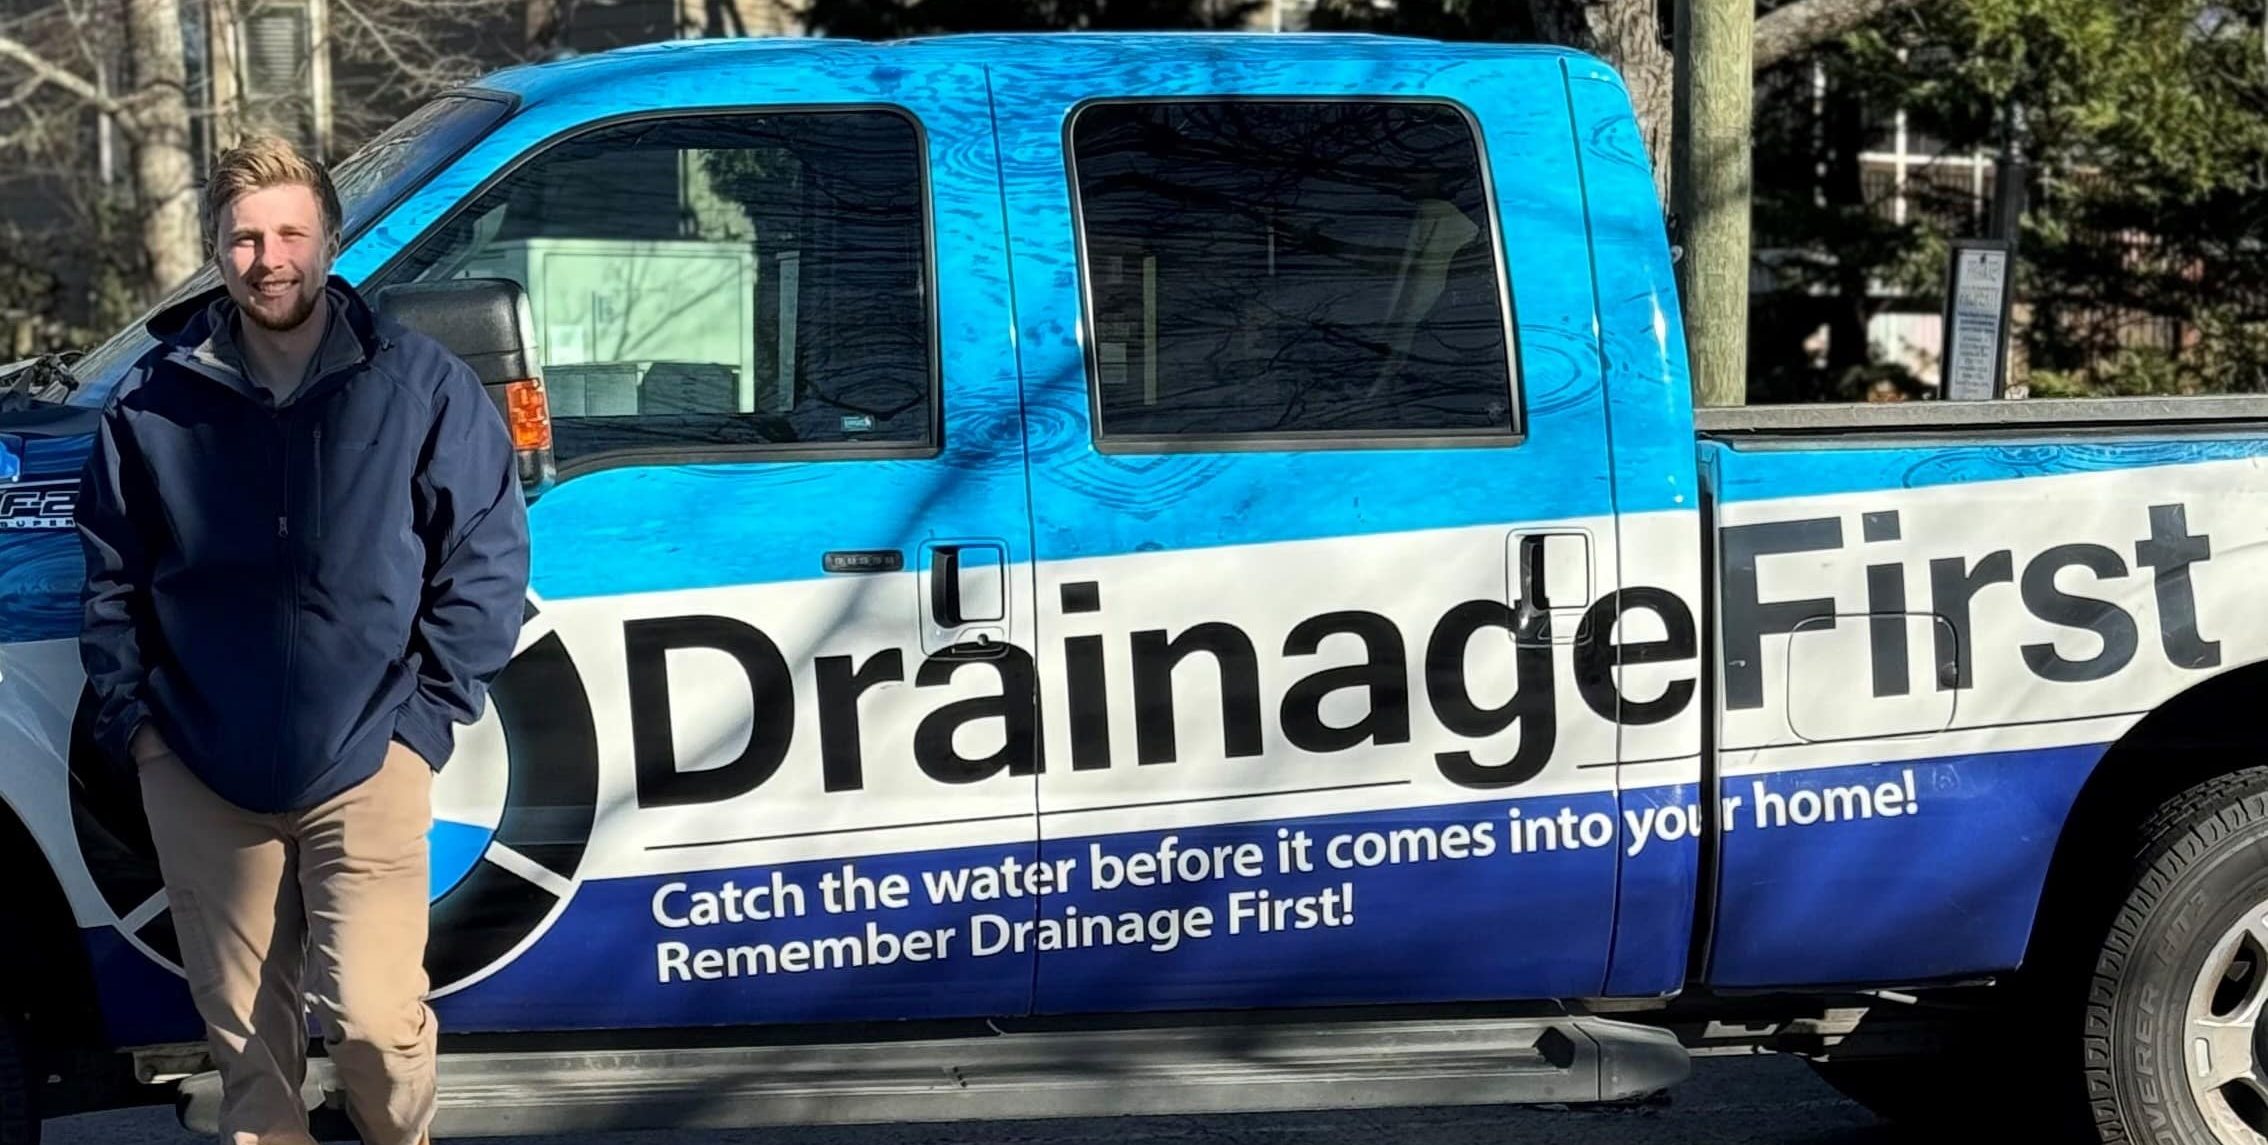
I’m Carter, owner of Drainage First, a locally owned Metro Atlanta team with 20+ years of hands-on work. I start every call by looking outside. We fix gutters, grading, and drainage first so any seal lasts.
Encapsulation aims to make a crawl area airtight, insulated, and moisture resistant. That helps stop odors and limits the stack effect that can pull damp air into living rooms. The DOE notes about a 15% drop in heating and cooling use when key gaps get sealed.
My goal is simple: explain when a seal helps and when poor exterior drainage will defeat the job. Call (678) 389-9544 or email carter@drainagefirst.com for a same-day written estimate that focuses on fixing the real source, not selling the biggest system.
Key Takeaways
- Drainage First inspects outside problems before recommending a seal.
- Sealing a low area can boost comfort and indoor air quality.
- Without proper grading, an encapsulate fix may fail.
- DOE data shows meaningful energy savings from air sealing.
- Call or email for owner-led, same-day written estimates.
What crawl space encapsulation is and why it matters for Metro Atlanta homes
Humidity in Georgia often shows up under houses before it reaches living rooms. I focus on fixing outside drainage first. Then we discuss a full system that controls wet below-grade conditions.
Definition: crawl space encapsulation creates a controlled, cleaner area by isolating the ground and air from the home. It goes beyond basic sealing by adding a continuous vapor barrier, wall liners, and planned air management.
How air moves: Warm air rises and draws lower air upward. That stack movement can pull damp air into rooms and harm indoor air quality. Closing gaps alone won’t stop that pull.
- Common problems for Metro Atlanta homes: high moisture, persistent mold, mold growth on wood, pest activity, and water damage.
- A full system reduces drafts, improves air quality, and cuts mold risks when exterior runoff is fixed.
- If water keeps reaching the foundation, no barrier will hold. Address grading and gutters first.
How the crawl space encapsulation process works in real homes
A proper job starts with a careful walk-through that asks why the area under your house stays wet. I focus on what I see outside first. Gutters, grading, and downspouts often explain the moisture problem.
Site inspection and diagnosis:
- I check for mold, standing water, wet soil, high wood moisture, and structural red flags.
- We note drainage problems and document how runoff reaches the foundation.
Cleaning and prep: Remove debris, old insulation, and damp materials. Sealing over organic trash traps odors and mold.
Air sealing: Close vents, seal foundation penetrations, and stop outside humid air from cycling through the area.
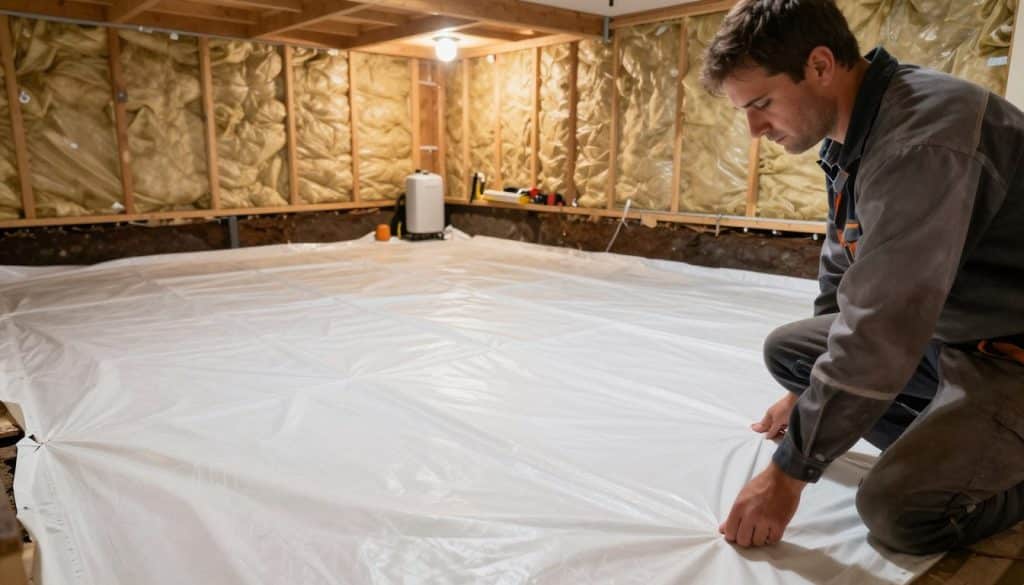
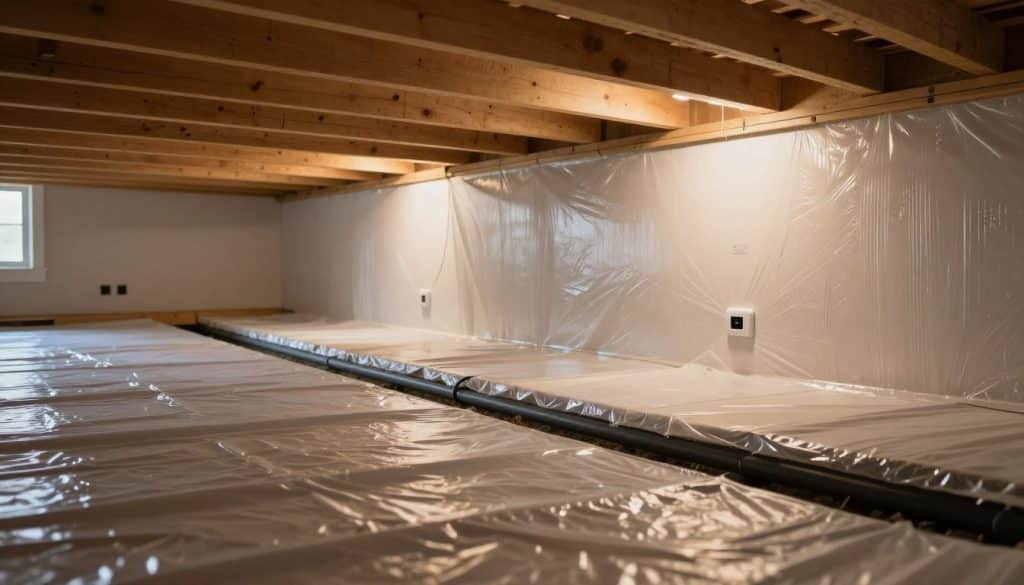
Vapor barrier installation: We install a heavy-duty vapor barrier on floors and walls. Proper seams, overlaps, and attachment matter for long-term performance.
Insulation and energy efficiency: Place insulation where it reduces drafts and eases HVAC load. The right approach improves comfort and lowers bills.
Dehumidification when may necessary: Some sealed crawl setups in Metro Atlanta need a dehumidifier to keep humidity low and prevent mold growth.
- Final inspection: intact barrier, tight seals, controlled humidity, and no active water entry.
- Done right means a system that protects materials and reduces indoor damp air.
Pros of crawl space encapsulation
Certain upgrades under a home pay off in ways you notice every day. I focus on real, homeowner-level benefits that matter: comfort, odors, and fewer surprises.
Improved indoor air and fewer contaminants
Improved air often shows up as less musty smell and fewer allergens moving upstairs. Sealing lower gaps reduces the path that damp air and dust use to reach living areas.
Moisture control that limits mold
Stopping ground moisture cuts the conditions mold needs to grow. This lowers visible mold problems and long-term material damage when exterior runoff is fixed first.
Energy, comfort, and steady temperatures
Air sealing and added insulation reduce drafts and steadier floors. The DOE notes about a 15% drop in heating and cooling use when air leaks and insulation get targeted.
That leads to energy savings and lower energy costs over time.
Pest prevention and fewer repairs
A drier, enclosed area makes the under-home less appealing to insects and rodents. Fewer pests means fewer surprise repairs and simpler maintenance.
Boost to home value and buyer confidence
Documented moisture control can reassure buyers during inspections. That documented work often raises buyer confidence and the perceived value of a home.
- Key benefits: improved indoor air, moisture control, energy savings, pest reduction, and added value.
Cons and risks to consider before you encapsulate a crawl space
Before you sign a big contract, know the common downsides that can turn a good plan into a costly problem.
Upfront cost and when the investment may not pencil out
Costs for a full job can be significant. A smaller targeted fix or drainage upgrade sometimes delivers the same benefits for less cost.
Risk of trapping moisture and mold growth
If exterior drainage is wrong, encapsulation may trap moisture and feed mold. That problem can cause hidden damage and increase repair bills.
Access and maintenance challenges
Plumbing, electrical, and HVAC repairs become harder after a barrier and liner go down. Regular checks keep seals tight and a dehumidifier may necessary to control humidity.
- Sealed crawl can hide leaks and delay detection of water damage.
- Ongoing inspection prevents small issues from becoming large mold problems.
- Some homes with high water tables or flood risk aren’t good candidates.
I inspect exterior runoff first. I prefer recommending targeted drainage fixes over pushing an expensive investment that won’t last.
Is crawl space encapsulation worth it based on cost, savings, and payback?
Start with price ranges and realistic savings, then match that to your home’s needs.
Typical costs run from about $2,000 to $15,000, and can reach $16,000 on large or difficult jobs. Major drivers are size, active moisture, existing mold remediation, and how much prep and insulation the job needs.
Energy and avoided repair value
The DOE notes roughly a 15% drop in heating and cooling when air leaks and insulation get targeted. That translates to steady savings on energy costs, not an overnight windfall.
Compare the investment to avoided bills. Mold cleanup often costs $1,500–$5,000 or more. Replacing rotted framing and ruined insulation adds up fast. A good barrier can stop repeat repairs.
Payback and practical decision tips
- Comfort gains often show immediately.
- Energy savings build over seasons; many homes see measured payback in 5–10 years depending on local use.
- If you have recurring water entry, fix grading and gutters first so the liner does not fight a losing battle.
Bottom line: For many Metro Atlanta homes with moderate moisture, the investment delivers value. For homes with persistent runoff, start with drainage fixes and call us for a same-day written estimate at (678) 389-9544 or email carter@drainagefirst.com.
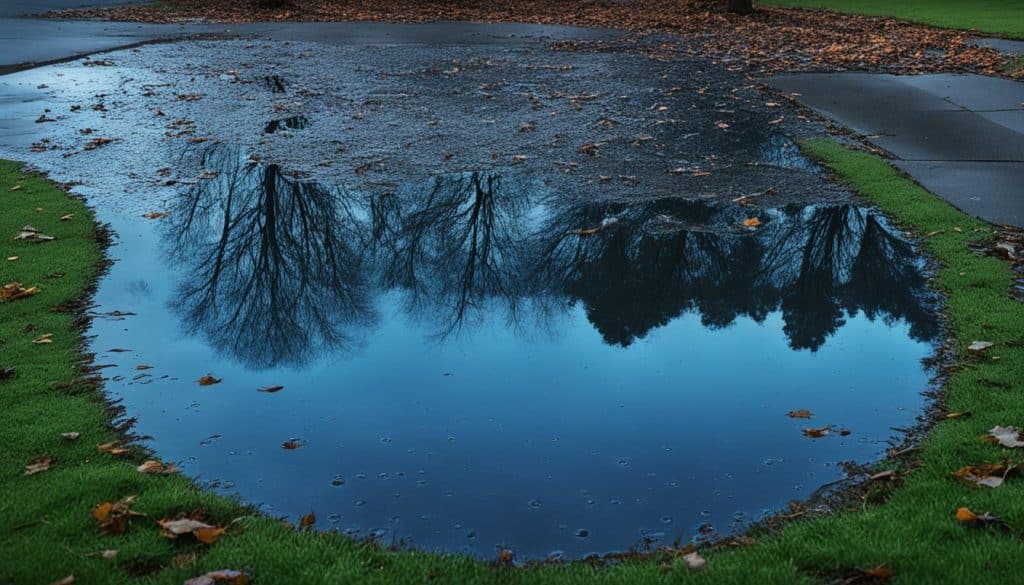
Metro Atlanta moisture reality: why exterior drainage often determines success
Outside drainage, not a liner alone, usually sets the long‑term outcome for below‑home moisture control.
I see this daily in Metro Atlanta. Heavy storms, sloped yards, and downspouts that dump near foundations push water toward the house. That pattern can keep a crawl space wet even after a heavy barrier goes down.
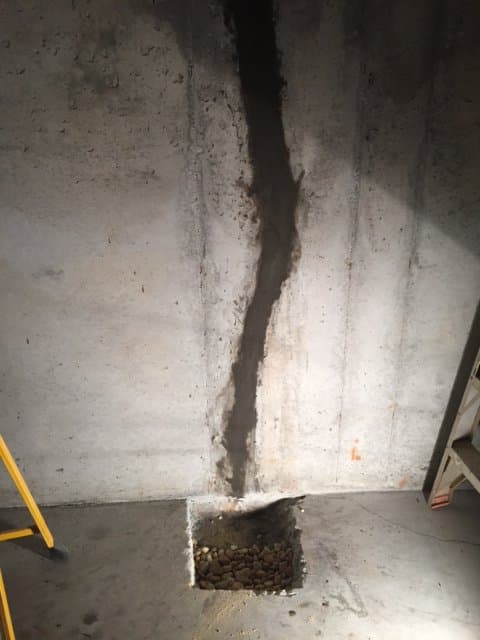
How poor grading and runoff keep areas wet
Water follows the easiest path. Bad grading exposes foundation walls and raises hydrostatic pressure. Even a quality vapor barrier becomes overwhelmed when runoff keeps arriving.
Signs the problem starts outside
- Downspouts discharge near the foundation.
- Soil slopes toward the home instead of away.
- Erosion channels or recurring wet spots after storms.
- Muddy areas next to foundation walls or low yards that hold water.
Fix water at the source to protect home
Addressing runoff reduces chronic moisture and lowers the risk of hidden mold and water damage. A barrier works best as part of that system, not as a lone shield.
At Drainage First, I inspect yards and install grading and drainage fixes before recommending interior work. That approach helps protect the home and makes any barrier perform as intended.
Alternatives and complements to encapsulation for a drier, healthier crawl space
A full liner is not always the first or smartest move. I start with simpler, less disruptive fixes that protect the home and save money.
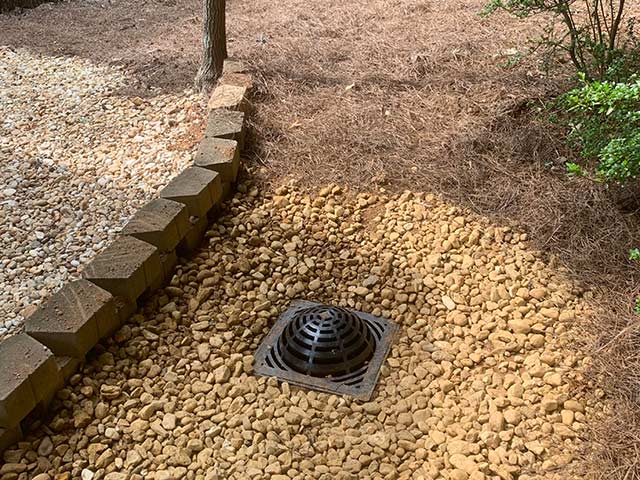
Exterior drainage improvements that protect the home first
Fixing gutters, downspouts, and runoff paths keeps water away from foundation walls. In many Metro Atlanta yards, this step stops most moisture before any interior work is needed.
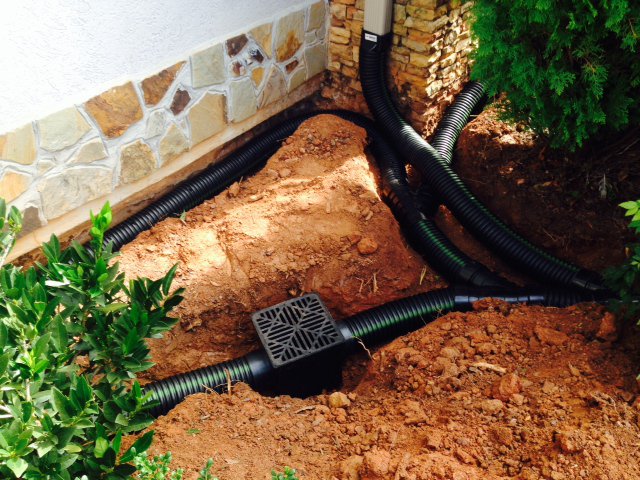
Grading corrections to move water away from the foundation
Re‑shaping soil and adding small swales or drains redirects flow. Proper slope reduces repeated wet spots and protects materials under the house.
Targeted sealing and vapor barrier upgrades without full encapsulation
- Seal key penetrations and add a heavy-duty vapor barrier in problem zones.
- Install local insulation and simple air seals to cut drafts and odors.
- These selective steps often match performance of larger jobs for less expense.
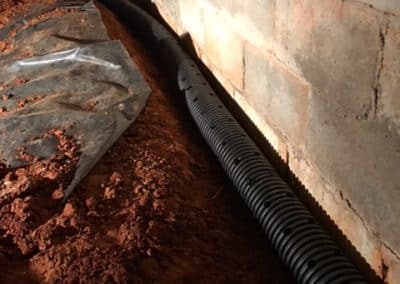
When drainage systems and a sump pump may be appropriate
Where water actively enters, a shallow drain or sump provides a controlled exit path. Those systems paired with grading give long-term control for wet properties.
At Drainage First, I offer fast guidance and a same‑day written estimate focused on the simplest fix that meets your home’s needs.
How to decide what your home needs: a practical evaluation checklist
Start by checking signs you can see and smell after a rain — those cues tell the real story. Use this short checklist to judge whether the problem begins outside or below the floor.
Moisture indicators
- Look for puddles, damp soil, visible condensation, or musty odors after storms.
- Note any steady high humidity readings in the under‑home area; that often feeds mold growth upstairs.
Air quality and comfort clues
- Check for drafts, cold floors, or uneven temperatures that suggest air leaks from below.
- Record smells or dust that affect indoor air and general air quality.
Health and material red flags
- Document visible mold, soft or rotted wood, and insulation that looks damp or sagging.
- These signs show long‑term damage that needs action to protect structure and health.
Pest activity signals and entry points
- Note rodent droppings, insect trails, and gaps where pests enter; moisture and openings often occur together.
What to document before an estimate
- Take photos after rain that show downspout discharge, yard slope near the foundation, and any wet spots.
- List observations and humidity readings so a pro can assess needs quickly.
Next step: If your checklist points to drainage‑driven problems, we inspect the yard and under‑home area and provide a same‑day written estimate. I handle calls personally at Drainage First and focus on the simplest fix that protects indoor air quality and long‑term value.
Conclusion
Deciding on a below‑home seal should start with a clear diagnosis of moisture sources. crawl space encapsulation can boost air quality, comfort, and energy efficiency when done right and paired with proper drainage.
Know the tradeoffs: upfront costs, ongoing maintenance, and the risk of trapped moisture if exterior runoff stays uncontrolled. A smart investment begins by fixing grading and gutters first.
I run Drainage First with 20+ years of hands‑on work. We offer same‑day written estimates and owner‑led service that targets real problems, not big installs.
Call (678) 389-9544 or email carter@drainagefirst.com for a clear plan that favors drainage first and practical encapsulation where needed.