Ever wonder how to repair foundation leak issues and why a slow drip in your basement feels harmless until it isn’t?
I’m with Drainage First, a locally owned team serving Metro Atlanta for over 20 years. We see small signs that become big water problems if ignored. Damp walls, puddles at the floor edge, and musty smells are common red flags.
In this short guide, I’ll outline a clear path: diagnose the source, show a simple crack repair you can try, explain basic waterproofing and humidity control, and explain why exterior drainage often solves the root cause.
We focus on grading, gutters, and drains because exterior pressure usually drives water against your foundation walls. I make service calls myself and offer a same-day written estimate.
If you live in Atlanta and need fast, personal help, call (678) 389-9544 or email carter@drainagefirst.com.
Key Takeaways
- How to confirm moisture direction in basement walls.
- Why a small crack can cause major water damage over time.
- Basics of using hydraulic cement for a quick fix.
- Why exterior drainage upgrades prevent repeat problems.
- When to call a pro for repeated or heavy intrusions.
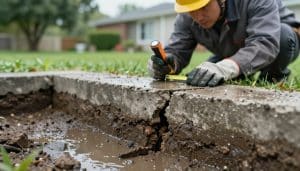
Why foundation leaks happen in Metro Atlanta basements
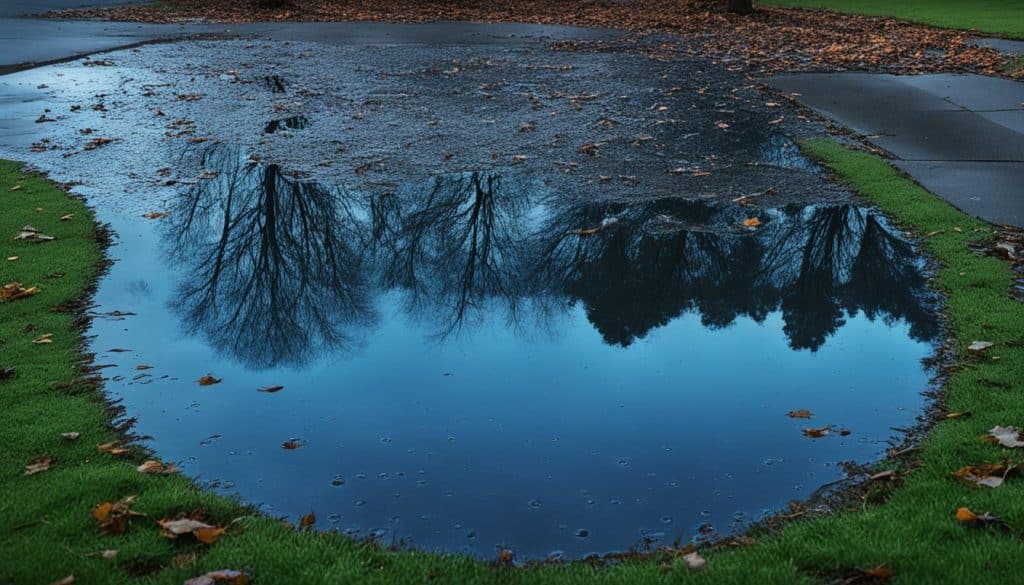
After heavy rains in Atlanta, saturated soil often behaves like a slow-moving river against basement walls.
Rain and groundwater soak the soil around a house. That wet soil pushes pressure against concrete and masonry. Where grading or drainage is poor, the push increases near the basement wall.
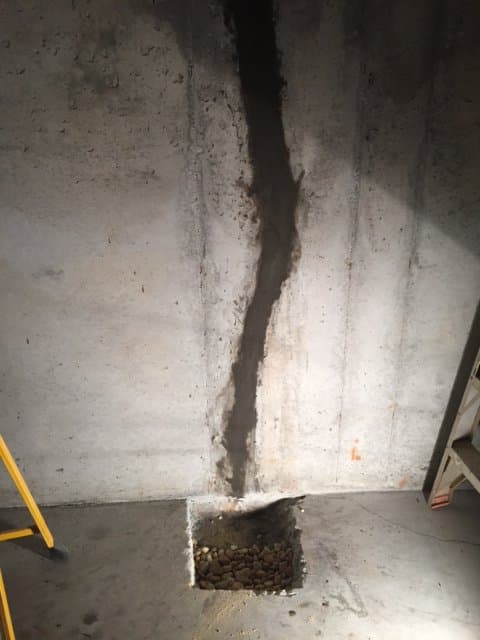
Common entry points include hairline cracks, porous concrete, floor-to-wall seams, and small penetrations. Each creates an easy path for water or moisture to travel inside.
It may seem like a little water, but repeated wetting cycles cause staining, hidden material damage, and mold growth. Small cracks widen over time and the cost of repair rises as damage spreads.
- Soil that stays saturated holds water close to the walls longer.
- Clay-rich yards in Atlanta slow drainage and raise seepage risk.
- Condensation can mimic exterior intrusion; testing the source saves wasted work.
I always document where water appears before any fix. That helps confirm whether water is coming through the wall or condensing on it.
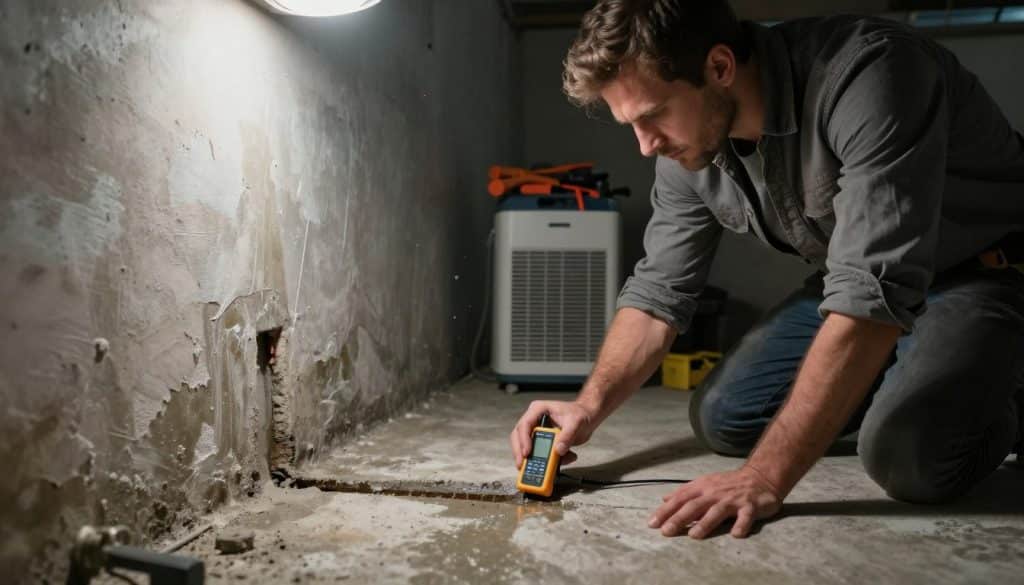
Diagnose the source before you repair a basement water leak
Before picking a patch, I always run simple checks that show whether wet spots come from inside the house or outside.
Start by separating condensation from exterior intrusion. Condensation leaves wetness on the room-facing surface of a wall. Exterior pressure pushes moisture through the wall or up at the basement floor line.
Aluminum foil test
Tape a flat square of foil to a suspect spot. Leave it sealed for 48–72 hours.
If moisture forms on the outside of the foil, indoor humidity is high. If moisture appears behind the foil, water is pushing through the wall from outside.
Signs to document
- Damp streaks on walls and discoloration at the basement floor line.
- Wet spots around pipe penetrations and repeating marks after rain.
- Active drips, height on the wall, and time since the last rain.
Musty smell vs. visible wetting
A seasonal odor often points at humidity and poor ventilation rather than a crack. Dehumidify and retest before buying surface repairs.
Before calling a contractor, photograph each sign, note exact locations, and record recent rain. I use those notes on site to diagnose real problems faster.
Safety and prep: tools, materials, and what to protect
I always lay out tools and safety gear before opening a bag of cement. That saves time and keeps the project orderly. Good prep prevents mess and reduces risk when you work with fast-setting hydraulic products in a basement setting.
Personal protective gear
Wear disposable gloves, an N95 dust mask or respirator, and eye protection. Masonry dust and hydraulic mixes irritate skin and lungs.
Use expendable mixing containers and a throwaway stir stick. The material bonds quickly and leaves residue that is hard to clean.
Prep checklist and site protection
- Gloves, dust mask/respirator, eye protection.
- Chisel, wire brush, mixing container, disposable stir stick.
- Clear stored items from the floor and keep water away from outlets.
Timing matters. Hydraulic mixes set fast, so stage tools, pre-clean the crack, and only mix what you can place immediately. Plan your work time in short steps and have an assistant if possible.
Stop a DIY attempt and call a pro if water comes in aggressively, walls shift, or multiple walls show active wetting. Once safety and prep are complete, we can move on to a focused patch for small, stable cracks.
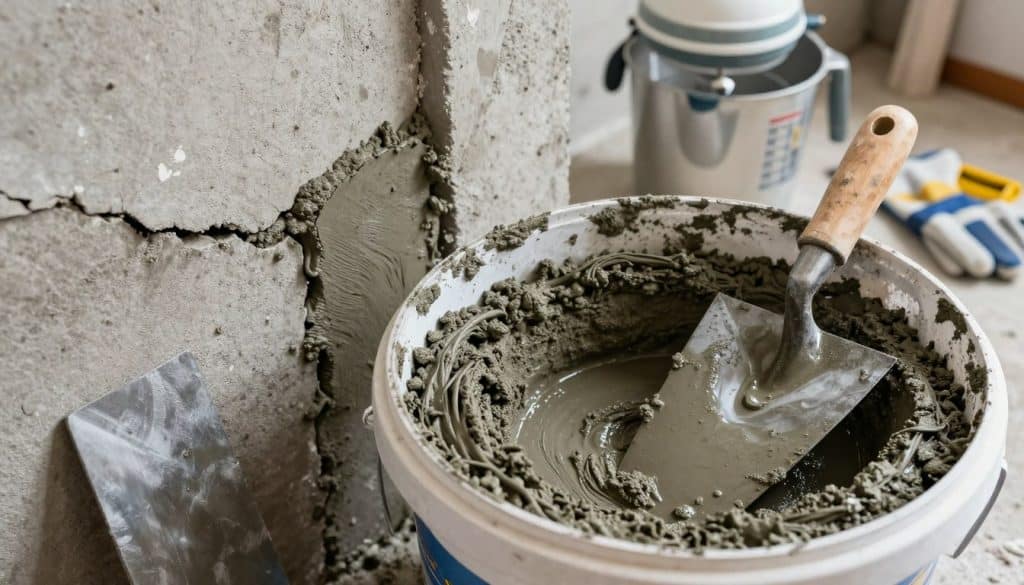
How to patch a small interior crack using hydraulic cement
When a small, steady trickle shows on a concrete wall, a focused patch can stop the visible path quickly. This method is for a localized, minor problem where the wall is otherwise sound and the path is clear.
Expose the true path
Chip away old paint or sealant until you see bare concrete. That reveals the real crack, pinhole, or penetration point. Clean loose bits with a wire brush so the patch bonds to solid material.
Shape the crack for a lock-in patch
Enlarge the opening into an inverted “V” (narrow at the surface). This creates a mechanical key that keeps the material from popping out later. It’s a small step that greatly improves long-term holds.
Mix, pack, and finish
Mix per manufacturer directions and only make small batches. Hydraulic cement sets fast and expands as it cures. Pack the mix firmly into the crack, forcing it into voids, then feather the edges beyond the core area.
- Work quickly; set time is short.
- Mark damp spots and recheck after the initial cure.
- Apply a second coat in 24–48 hours if moisture persists.
Note: This interior patch treats the symptom. If outside drainage keeps soil wet, other spots may show later and exterior work may be needed.
Waterproofing basement walls after crack repair
After a successful patch, the next step is a coating that reduces vapor and minor seepage through concrete. A proper paint-on waterproofing layer helps control indoor moisture and protect finishes against future water damage.
Surface prep matters. Scrape loose paint, wire-brush the concrete, and remove white efflorescence with a masonry cleaner so the material bonds. Do this before any coating goes on.
Apply the coating correctly. Brush in multiple directions so the paint fills pores and pinholes. Use a thick, even coverage and plan a second coat after the first dries. The goal is a continuous barrier, not a thin film.
- Do not paint over active leaks; coatings will fail if water is moving through the wall.
- Skipping prep or using thin coats causes most failures.
Benefits: Good waterproofing reduces damp smells, helps prevent water damage, and makes living spaces more usable. Remember: interior coatings are helpful, but they do not replace proper exterior drainage that keeps pressure off the wall.
Reduce indoor humidity that looks like a foundation leak
Many basement wet spots start with warm, humid air meeting a cold surface. That condensation can drip onto the floor and mimic a real wall breach.
Start by hunting obvious indoor sources. These fixes are fast, low-cost, and often prevent water basement complaints without exterior work.
Sealing dryer vents and common humid sources
Check dryer vent joints. Seal gaps with foil tape rather than duct tape. An unsealed vent dumps moist air into the basement and raises humidity quickly.
Exhaust fans and dehumidifiers for steady control
Run exhaust fans during showers and dry cycles. Keep basement windows closed on humid days.
- Use a dehumidifier sized for your basement and run it until relative humidity stays below 50%.
- Keep storage off the floor and allow airflow behind boxes and furniture.
Stop pipe “sweat” with foam insulation
Insulate cold water pipes with foam sleeves to stop condensation. This prevents dripping that homeowners often mistake for a leak.
If the foil test shows moisture behind the foil, these steps are a fast, cheap path before spending on repairs.
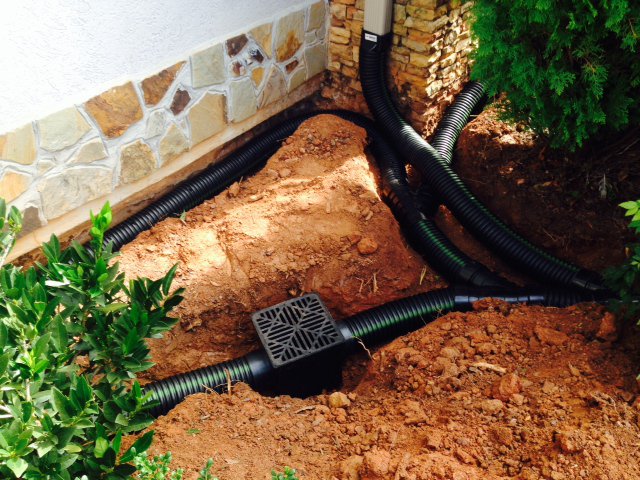
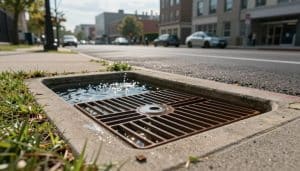
How to repair foundation leak outside: drainage and grading around the house
A quick exterior inspection often reveals why a basement wets after heavy rain.
Start with a simple sketch of the house. Use a 4-foot level and a tape measure. Walk the yard and mark arrows that show where ground water runs. Note low spots, sunken soil, and any edging that forms a dam against the foundation.
Inspect slope and document problem areas
Place the level on a straight board and read pitch away foundation for several spots. Sketch each side and write measurements. This record tells you where water pools and where drainage work will matter most.
Regrading guidelines that move water away
Create a 6-foot-wide slope that drops about 6 inches moving away foundation. Compact fresh soil so it does not settle into a moat later. A gentle, wide grade reduces hydrostatic pressure on basement walls and often prevents repeat leaks.
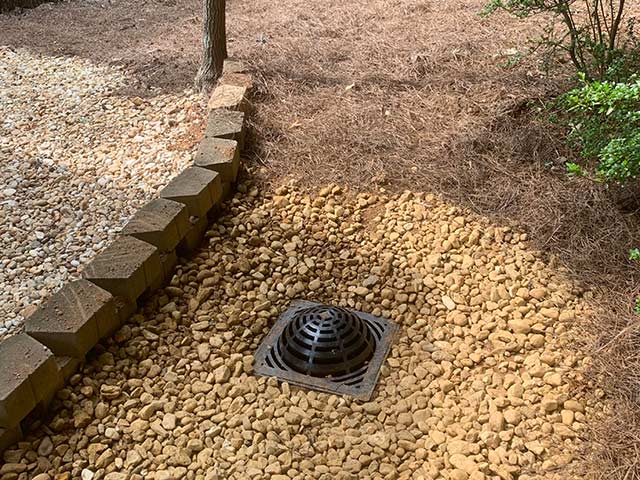
- Fix sunken soil and remove edging that traps runoff.
- Replace gravel strips that hold water close against the house.
- Extend gutters with 4–6 foot downspout extenders to move roof water away.
We focus on practical, exterior drainage solutions that stop water at the source. I’ll walk a property, sketch trouble spots, and offer same-day written estimates when exterior fixes are the smart, affordable choice.
When a sump pump or interior drainage system makes sense
For chronic basement wetting, installing a collection and pump station under the slab often makes sense. An interior system manages water after it enters the soil under the floor and directs that flow into a sump so a pump can remove it.
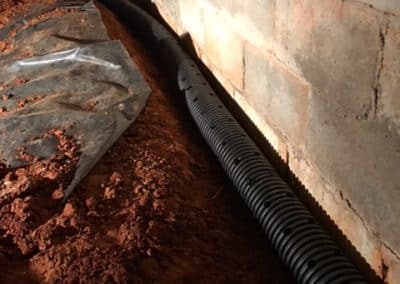
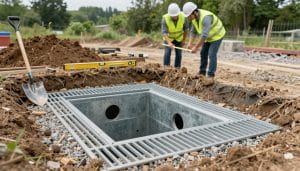
What installation involves
Typical work includes cutting the basement floor, placing drainage tubing around the perimeter, and routing that tubing into a sump basket. The sump holds the discharge point and the pump. After the collection work, concrete is patched and finished.
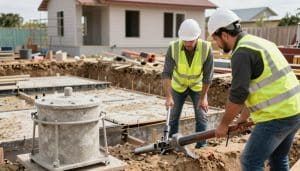
Sump pump basics and placement
Place the sump at the lowest point so gravity feeds the basket. A pit with a basin and cover protects the unit and keeps debris out. Choose between a submersible or pedestal pump based on expected flow, pit depth, and service access.
- Safe discharge: run the outlet away from the house so water does not return to the wall.
- Backup planning: battery backup or a second pump helps in power outages.
- Maintenance: clear the basket and test the pump yearly.
Drainage mats for a drier basement floor
Plastic dimple mats create an air gap beneath finished coverings. That gap keeps the basement floor warmer and reduces damp contact with flooring materials.
My view: an interior system and sump are strong options for recurring problems, but I still evaluate exterior grading first because reducing the load often prevents the need for major interior work.
When to call Drainage First for basement water problems in Atlanta
Call us when standing water returns after a storm or when damp spots keep coming back despite DIY attempts.
Moments to bring us in:
- Recurring basement water after rain that repeats at the same spot.
- Multiple wet points or seams that reappear after quick fixes.
- Wet areas that come back after patching or when yard runoff seems to aim at the home.
When exterior upgrades beat an interior system
Most of the time, fixing gutters, downspouts, grading, and surface drains stops the pressure that forces water at the foundation. Exterior work is usually cheaper and less disruptive than installing an interior system.
What to expect on my visit
I make the service calls myself. We walk the property, sketch problem areas, and discuss straightforward fixes that actually stop the water.
No hard sell. Just clear options based on what I see. You get a same-day written estimate and an honest plan that favors smart, affordable fixes first.
Service area and contact
Drainage First serves Metro Atlanta and nearby areas. We’re locally owned and have been hands-on for over 20 years.
- Fast, personal service from the owner.
- Same-day written estimate after evaluation.
- Scheduling that avoids long wait times when possible.
Ready? Call (678) 389-9544 or email carter@drainagefirst.com for a prompt, practical visit.
Conclusion
Good drainage begins with a clear plan and a quick, honest assessment.
Follow a logical order: diagnose the source, patch small cracks correctly, apply waterproofing only after proper prep, manage indoor moisture, and then fix grading and surface drains outside.
Stopping water at the yard edge is usually the most durable way to protect walls and keep the space dry. Short-term patches and DIY fixes work for minor spots, but repeating wet areas signal a larger drainage plan is needed.
We’re a locally owned, hands-on team focused on cost-effective exterior solutions. I make service visits, sketch trouble spots, and provide same-day written estimates in Metro Atlanta and nearby areas.
Call (678) 389-9544 or email carter@drainagefirst.com for a practical, owner-led evaluation and a clear plan that favors smart, affordable fixes over unnecessary expense.