How to Install a French Drain – Drainage First Guide

On This Page

Can a simple gravel trench stop repeated water at your foundation and save you from costly indoor fixes? Or been thinking how to install a french drain?

I’m the owner of Drainage First, serving Metro Atlanta for over 20 years. I’ll explain why a french drain often beats interior work for recurring yard and basement issues. This short guide shows real steps that work for Atlanta yards, foundation lines, and wet spots.

A french drain is a gravel-filled trench with a perforated pipe that redirects surface and groundwater to a daylight outlet or dry well. I’ll frame the reason behind each step so you see how the system moves water, not just how to dig and backfill.

Expect a practical DIY roadmap, plus clear signals when it’s smarter to call a local pro. If you want fast, personal help and a same-day written estimate, call (678) 389-9544 or email carter@drainagefirst.com.

Key Takeaways

  • French drains redirect water away from problem areas with a simple trench and pipe.
  • Exterior drainage and grading solve most common home water problems.
  • Follow clear steps for reliable flow and fewer clogs.
  • Know the limits of DIY and when to call Drainage First for expert help.
  • We offer fast, personal service and a written estimate the same day.

French Drain Basics for Home Drainage and Basement Water Protection

Most basement seepage stops once surface water finds a clear path away from the foundation. I focus on fixing the real cause: poor exterior drainage. That prevents musty smells and repeated indoor repairs.
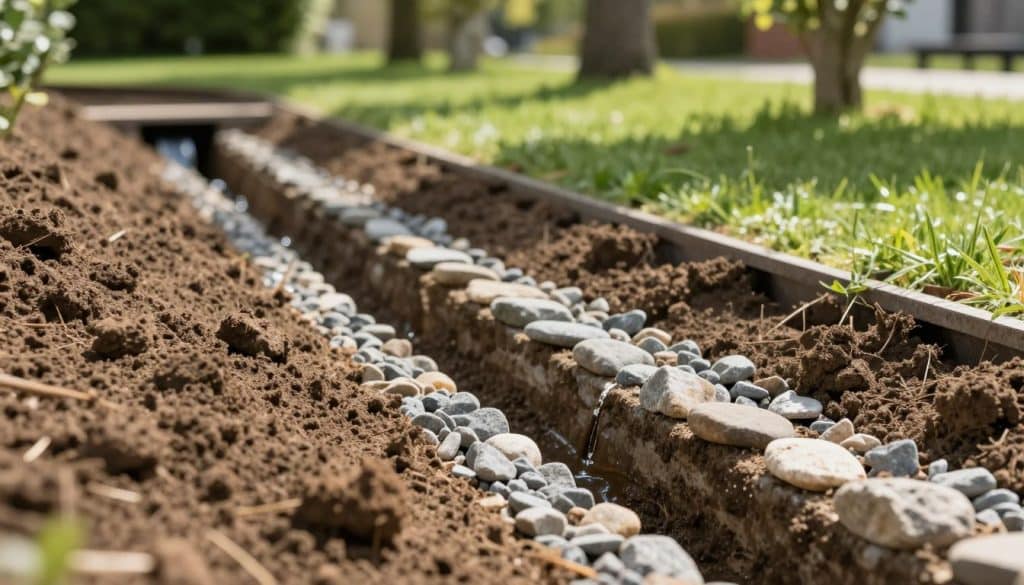
A close-up perspective of a trench water slope designed for a French drain installation. In the foreground, show rich, textured soil with gravel precisely arranged along the trench sides, illustrating proper drainage techniques. The middle ground features a gently sloping trench lined with smooth stones, leading to a small discharge point where water flows out, creating a serene and functional landscape. In the background, lush green grass and a few trees provide a natural setting, with soft sunlight filtering through, casting gentle shadows. The atmosphere is calm and earthy, emphasizing the importance of planning and proper techniques for effective drainage. A slight depth of field adds focus to the trench, enhancing the visual clarity of the slope.

What it is and names you may hear

In homeowner terms, this is a subsurface system that intercepts water before it hits your wall. In the U.S. people also call it a curtain drain, perimeter drain, weeping tile, or agricultural drain.

How it works with gravity and slope

Water moves into gravel, then into a perforated pipe and follows gravity down a steady slope. A consistent grade keeps flow steady and reduces clogs. The trench collects along its length, not at a single inlet.

Common problems it solves

  • Repeated wet spots near foundations and basements
  • Soggy yards and patio pooling
  • Surface runoff that soaks landscaping

I offer practical advice and local expert perspective: simpler exterior fixes usually outperform disruptive interior options.

Planning Your French Drain Layout: Location, Slope, Soil, and Discharge Point

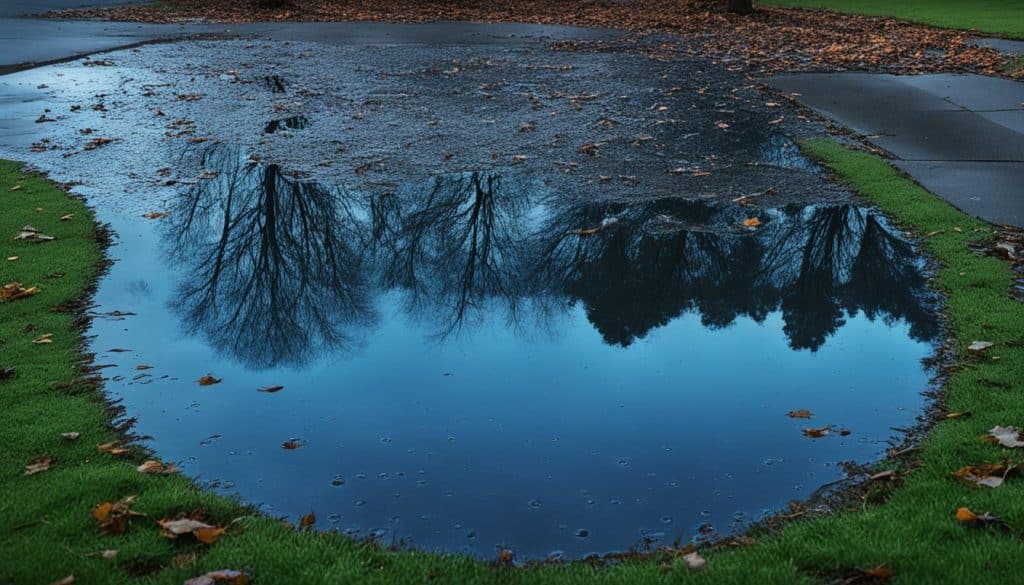
Start by mapping where standing water collects after heavy rain; the right line makes the system work. I look for persistent pooling near the foundation, low spots in the yard, and where runoff hits patios or walkways.

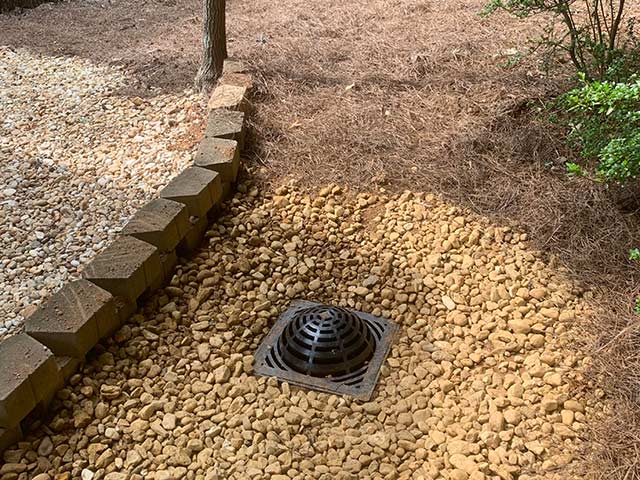
Location and start/end points: Mark a clear start at the wet area and an end at the safest discharge point. A daylight outlet, dry well, or a safe runoff route keeps water away from the home and neighbors.

Slope and depth: Aim for at least a 1% slope per 100 feet; use 2% where corrugated pipe is used. Typical trench depth runs from 8 inches up to 2 feet depending on the problem and soil.

  1. Trench sizing: Wide enough for gravel and pipe, but not deeper than needed for effective interception.
  2. Soil considerations: Atlanta clay holds water and chips can clog systems. Fabric wrap helps filter fine soil.
  3. Before digging: Call for utility marking, check local codes, and plan routes that won’t flood a neighbor’s yard.

I design each layout with local grading realities in mind and always confirm that the discharge point is code-aware and practical.
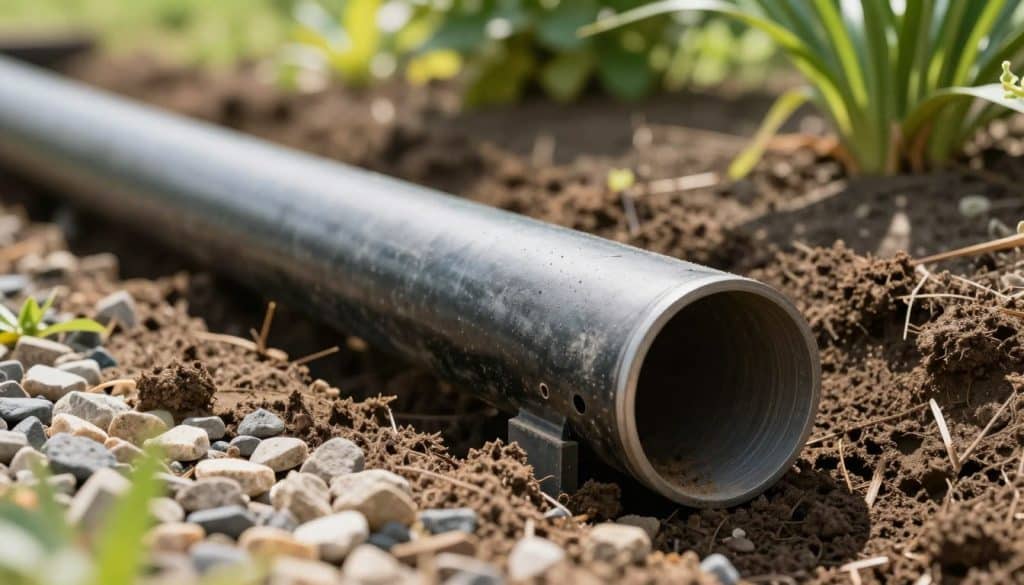
A close-up view of a that extending from the ground, showcasing its cylindrical shape, textured surface, and insert points for drainage. The pipe is set in a landscaped garden, with rich earth and carefully placed gravel surrounding it, illustrating its function in a French drain system. In the background, soft-focus greenery provides a natural setting, with sunlight filtering through leaves, casting gentle shadows on the ground. The mood is constructive and informative, highlighting the practicality of drainage solutions. The angle is slightly elevated, showcasing both the pipe's diameter and its position within the landscape. Natural lighting illuminates the scene, creating a professional yet approachable atmosphere, perfect for illustrating tools and materials for installing French drains.

Tools and Materials for Installing French Drains

The right mix of pipe, stone, and fabric decides whether the system works long term.

Core tools: marking flags, shovel or trencher rental, level/string line, wheelbarrow, and couplers. These are what you use every day on a run.

Pipe choices and size

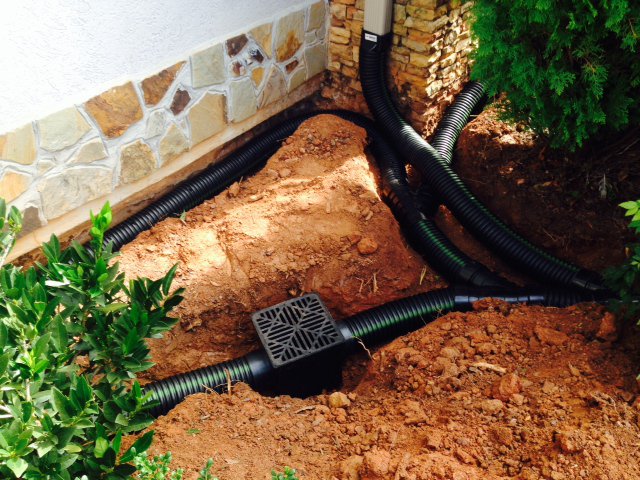
Perforated corrugated pipe bends easily and saves time on turns. Perforated PVC is stiffer and resists crushing. For most yards a 4-inch drain pipe is adequate; upsize only for heavy runoff or long runs.

Gravel, aggregate, and filtration

Use clean, angular gravel or crushed stone for good flow. Mixed or dirty fill clogs voids and shortens life. A layer of coarse aggregate under and over the pipe keeps water moving.

Fabric wrap and cost expectations

Landscape fabric makes a “burrito” that keeps fine clay out of the gravel. That reduces maintenance in Atlanta soils.

  • Material drivers: pipe, aggregate, fabric, couplers, and rentals.
  • DIY cuts labor cost; pros charge roughly $20–$30 per foot depending on site.
  • Buy quality where it counts—long-term performance beats short-term savings.

If you want same-day written estimates and practical expert advice, call Drainage First at (678) 389-9544 or email carter@drainagefirst.com.

How to Install a French Drain: Step-by-Step DIY Guide

A clear, consistent grade keeps water moving and prevents rework. I set a reliable downhill line first, then follow measured steps so the system performs for years.

  1. Mark and confirm slope: Run stakes and a tight string from start to outlet. Verify a steady downhill grade before you dig trench.
  2. Dig and shape the trench: Dig across the slope as needed. Keep trench width steady and form a smooth bottom so the bottom trench grade never traps flow.
  3. Line and base layer: Lay landscape fabric with extra on both sides. Add a starter layer of clean gravel or aggregate to protect the fabric and form a stable base.
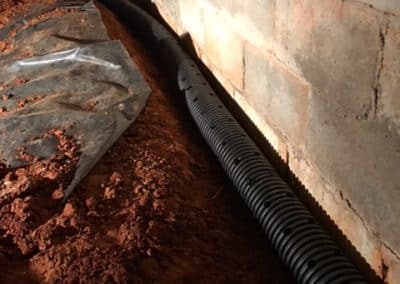
  4. Set pipe correctly: Place perforated pipe at the base with the holes facing down or as recommended for your product. Join sections tightly so the drain pipe stays secure.
  5. Cover and wrap: Fully cover the pipe with gravel, then fold fabric over the stone like a burrito. This wrap blocks soil fines and extends system life.
  6. Backfill and restore: Add topsoil, replace sod, and tie the landscape into the yard so you don’t wash sediment into the trench.
  7. Test flow: Run water through the trench and watch it reach the outlet. Good performance shows steady flow without pooling or slow spots.

I recommend these steps for any DIY attempt, but if you want me to plan the layout, grade, and discharge correctly from day one, call Drainage First at (678) 389-9544 or email carter@drainagefirst.com.
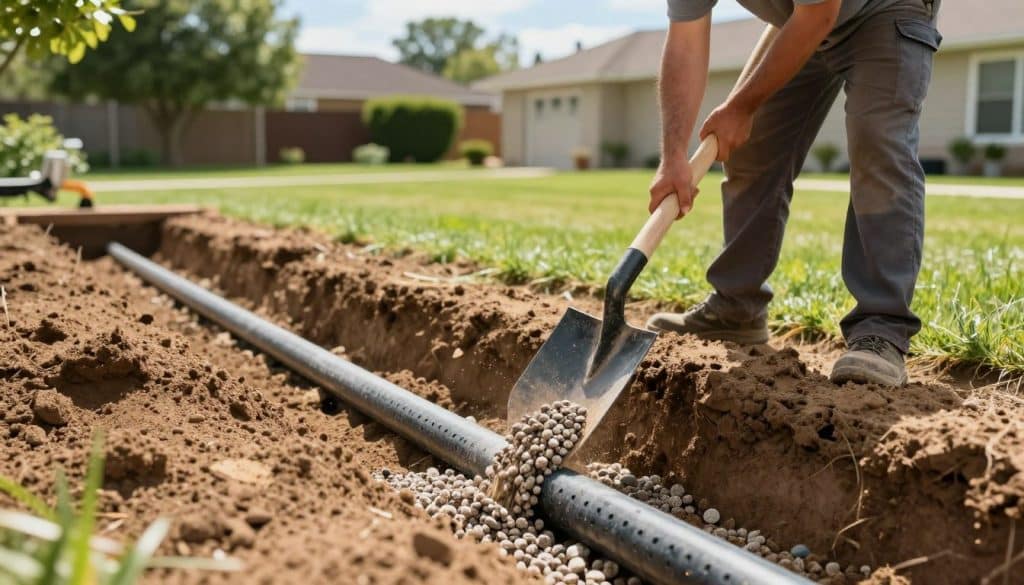
A detailed scene depicting the step-by-step installation of a French drain in a residential backyard. In the foreground, a skilled worker in modest work attire is digging a trench with a spade, showcasing the effort involved in the process. The middle ground features the gravel being poured and the perforated pipe laid down within the trench, highlighting the technical aspects of drainage. In the background, a lush green lawn offers a serene suburban setting, with a clear blue sky overhead allowing natural sunlight to illuminate the scene. The mood is practical and educational, emphasizing the DIY approach to home improvement. The image captures the focus and determination of the worker while providing a clear visual representation of French drain installation techniques.

Conclusion

Summary, a well-planned gravel trench gives water a clear escape so your foundation and yard stop soaking.

Keep the goal simple: give water a controlled path away from your home. Follow this guide: plan the outlet first, keep a steady slope, use clean stone, and wrap the stone with filtration fabric.

I’ll help when grading or discharge options make the run complex. Homeowners can handle short runs. Call an expert if the outlet is limited or the grade works against you.

Drainage First is locally owned with 20+ years serving Metro Atlanta. We handle calls ourselves and often provide same-day written estimates. For fast, hands-on advice, call (678) 389-9544 or email carter@drainagefirst.com.
FAQ

What is a French drain and what do people call it in the U.S.?

A French drain is a trench filled with gravel or aggregate that contains a perforated pipe to move groundwater away from problem areas. In the U.S. it’s often called a curtain drain, footing drain, or perimeter drain depending on location and purpose.

How does this system move water using gravity and slope?

Water flows into the trench through gravel and the pipe’s perforations. The pipe relies on a continuous downhill slope so gravity carries water toward the outlet—daylight, a dry well, or another safe discharge point.

What common problems does this system solve around foundations, yards, and patios?

It reduces surface pooling, lowers hydrostatic pressure against foundations, prevents basement seepage, and protects patios and lawn areas from soggy, eroded conditions.

How do I pick the best location by spotting pooling or wet zones?

Walk your yard after heavy rain and mark spots that hold water or feel spongy. Check near downspouts, low corners of the lot, along foundation walls, and beside patios or driveways—those are priority areas.

What slope and grade keep water moving properly?

Aim for at least 1% slope (1 foot drop per 100 feet). For shorter runs, a 2% slope gives more reliable flow. Keep the grade consistent along the trench to prevent low spots where sediment can accumulate.

What depth and trench width work for most residential projects?

Typical trenches are 12–18 inches wide and 18–24 inches deep for surface runoff issues. For foundation or footing drains, trenches may be deeper—consult a pro if digging near structural footings.

Where should water discharge safely?

Direct water to a daylight outlet, storm system, or dry well on your property. Never send untreated runoff to a neighbor’s yard or a public right-of-way without permission and proper permitting.

What should I check before digging—codes, neighbor impact, and utilities?

Call 811 to locate underground utilities. Review local codes and HOA rules and discuss your plan with neighbors if the outlet affects shared boundaries. Permits may be required for larger systems.

What pipe options exist and why choose 4-inch pipe?

Perforated corrugated pipe is flexible and easier to handle; perforated PVC is stiffer and resists crushing. Four-inch diameter is common because it balances flow capacity and ease of installation for most yards.

Which gravel or aggregate should I use for good flow and filtration?

Clean, washed ¾‑inch crushed stone or pea gravel works well. Avoid fines and sand that promote clogging. A layer of coarse stone around the pipe maintains flow while surrounding fabric keeps soil out.

When is landscape fabric wrap recommended?

Use nonwoven geotextile fabric when soil has high silt or clay content. Wrapping the gravel—or using the “burrito” method—reduces soil infiltration and extends system life in fine soils.

What drives cost per foot for DIY versus hiring professionals?

Material choice, trench depth, access, soil hardness, slope complexity, and permit needs all affect price. DIY saves labor costs but pros bring equipment, permit handling, and warranty coverage.

How do I mark a trench line and confirm slope with stakes and string?

Place stakes at start and end points. Tie string between them and use a line level to set the proper drop. Move a stake or adjust string until the slope measures correctly before digging.

Any tips for digging a consistent trench across slope?

Dig in short sections and check grade frequently. Slope downward from high point. Keep the trench bottom smooth and sloped, removing loose soil so the pipe rests evenly on stone.

What’s the correct way to lay fabric and starter gravel?

Line the trench with fabric, leaving excess on the sides. Add 2–3 inches of starter gravel so the pipe sits on stone, which prevents settling and helps drainage immediately.

How should the perforated pipe be oriented and connected?

Place the pipe with the perforations facing down or sideways per manufacturer guidance. Use proper couplings and ensure joints are snug. Slope and alignment matter more than orientation in most cases.

What’s the right backfill sequence to protect the system from soil intrusion?

Cover pipe with gravel up to a few inches below grade, then fold fabric over the gravel. Backfill with clean topsoil and restore sod or mulch to prevent surface wash-in and keep the trench stable.

How do I test the system and verify flow to the discharge point?

Run a hose or pour several buckets of water into the trench at the high end and observe flow through the pipe to the outlet. Check for slow spots, leaks, or pooling that indicate grade or blockage issues.

What common problems shorten system life and how do I prevent them?

Clogging from fine soils, root intrusion, poor slope, and improper outlet location shorten life. Use fabric wrap, choose the right aggregate, maintain clean discharge points, and avoid planting large roots nearby.

When should I call Drainage First for help?

Call us if you see persistent basement seepage, complicated grading, large drainage loads, or if you prefer a guaranteed, code-compliant installation in Atlanta and surrounding areas. We offer solutions based on years of local experience.

Best Solutions

We have experience with a wide range of water issues.

See our Work

View our amazing drainage transformations.

Free Estimate

Contact us today to schedule a free consultation.

Services We Offer

What Our Customers Are Saying

Customer satisfaction is at the heart of everything we do. But don’t just take our word for it – hear what some of our happy clients have to say:

Drainage First - About Us - Contact Us

Call us now for your free estimate
24/7 Service Available

Share:

Learn More, Check Out

Send Us a Message