Have you ever wondered How Much Does Crawl Space Insulation Cost? or if the price tag on a crawl space job really fixes the root problem, or just hides it with a pretty invoice?
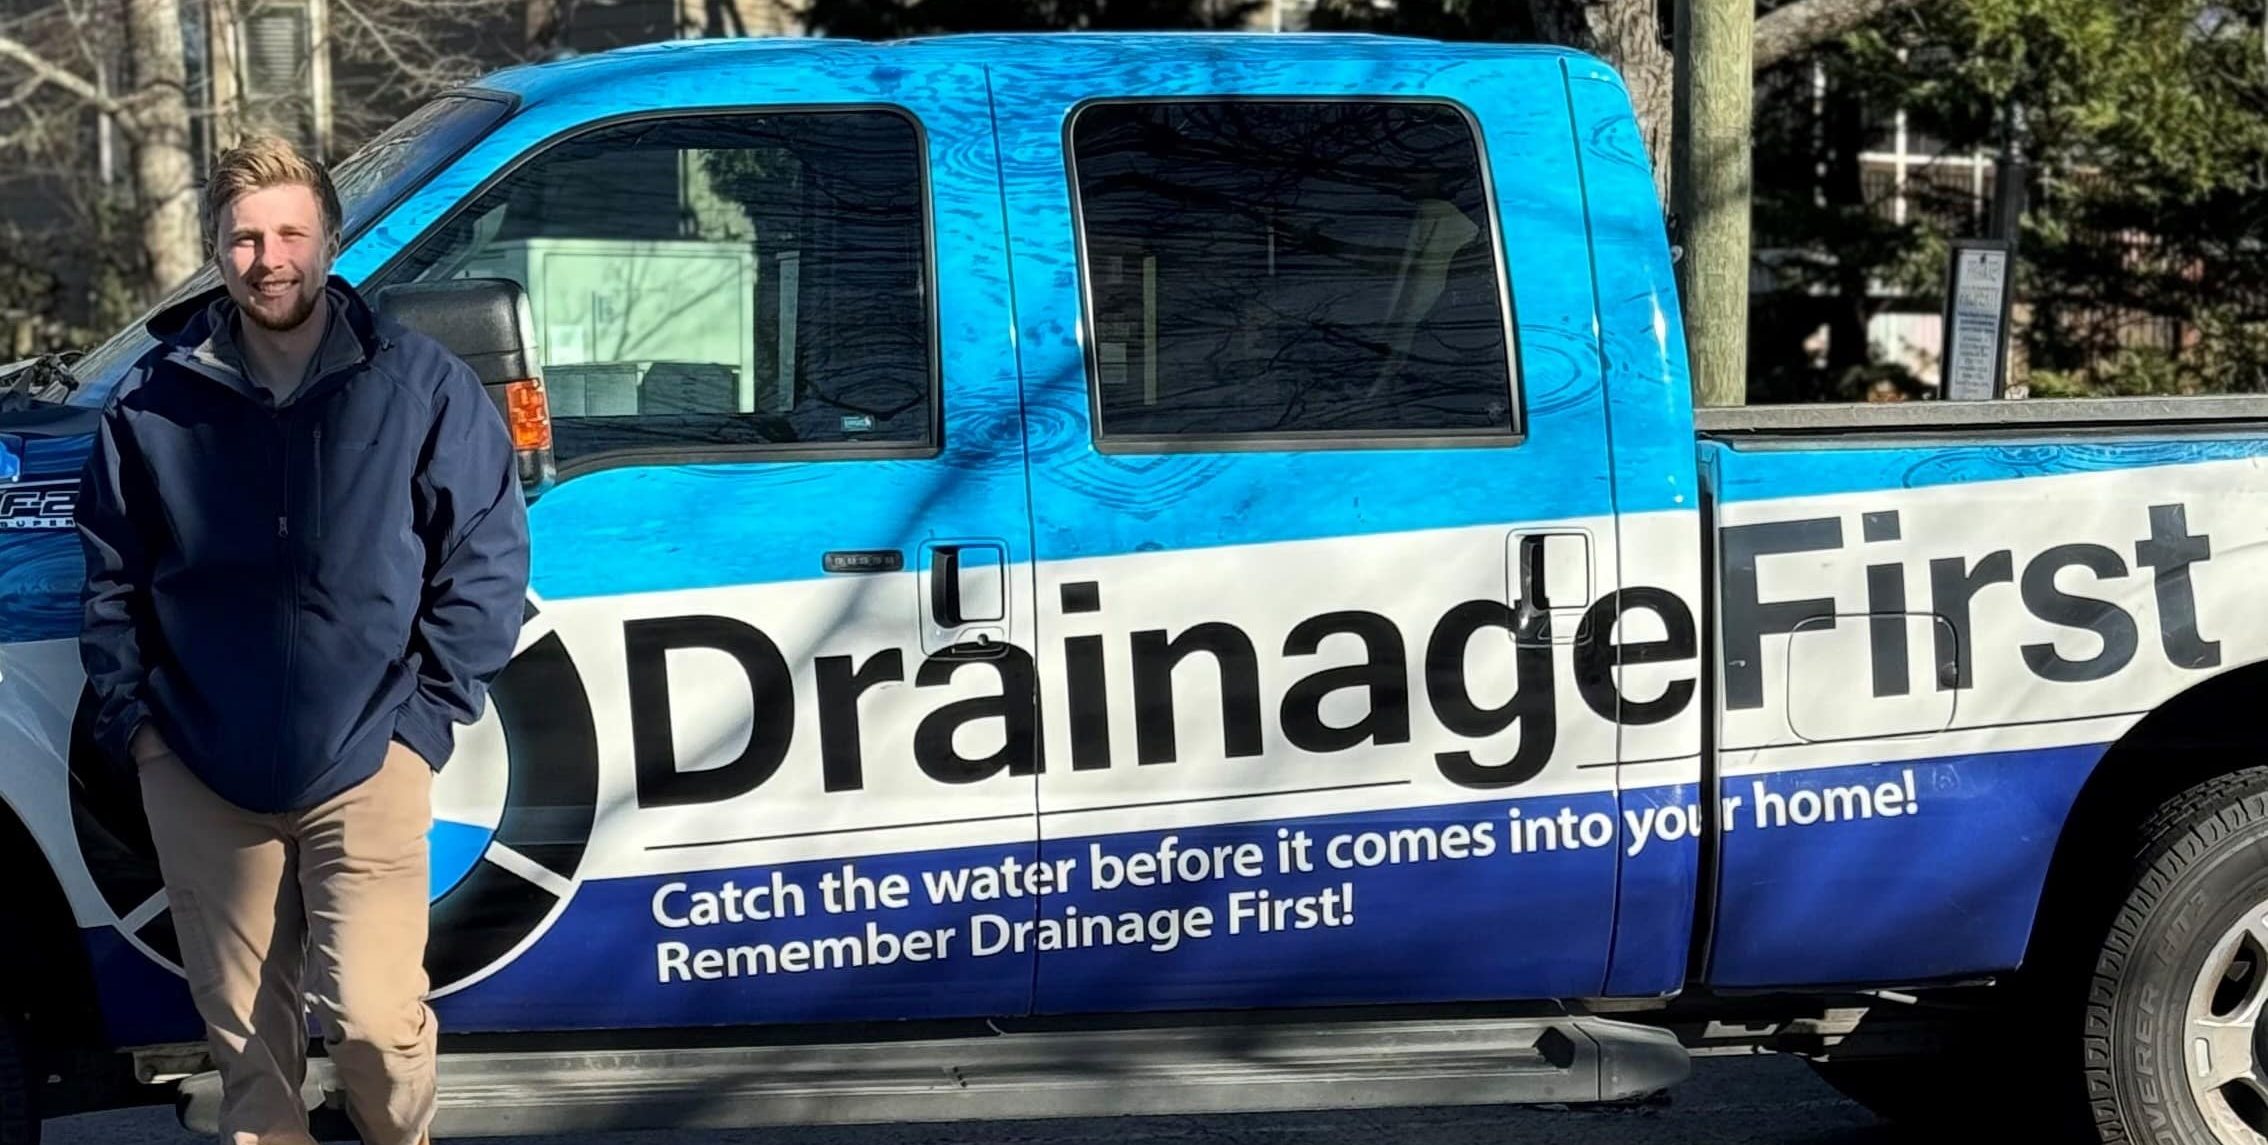
I’m the owner of Drainage First, a locally owned, owner-led team serving Metro Atlanta for over 20 years. I answer this question for homeowners every week. My goal is clear: give real-world ranges and practical steps so you don’t pay twice.
What drives the final bill is rarely R-value alone. Moisture and air leakage usually decide the right approach and the total cost. Typical installed ranges run from basic budget installs around $1,500–$3,000 to sealed systems with spray foam and vapor barrier near $4,000–$8,000+, with drainage or dehumidification add-ons of $1,000–$2,000.
I’ll walk you through inspection and prep, air sealing, vapor control, material choices, and optional encapsulation items. We offer fast, personal service and a same-day written estimate for Metro Atlanta homeowners who want practical, long-lasting results.
Key Takeaways
- Real-world price ranges: budget, sealed, and add-ons to plan your 2026 budget.
- Moisture and air issues usually determine the best solution and final price.
- Fix water and drainage problems first to avoid paying twice.
- Drainage First offers owner-led, same-day written estimates in Metro Atlanta.
- Focus on a dry, stable space so insulation delivers energy and comfort benefits.
Why crawl space insulation costs vary so much
I see two identical houses on paper and two very different final bills after inspection. The main drivers are hidden water, access challenges, and the materials a job really needs to survive wet conditions.
Vented versus sealed layouts matter
Vented crawl areas force different work than unvented designs. Vented jobs often need moisture control and batten fixes. Sealed spaces usually require vapor barrier and tighter air sealing, which adds labor.
Moisture sets the real budget
Moisture forces prep and changes material choice. Fiberglass fails in damp conditions. Closed-cell spray foam resists water and also seals air leaks. Rigid foam can work if seams are taped well.
Why cheap options cost more later
Wet batts sag, rodents nest, and replacements add up over time. I recommend bids that prioritize a dry, stable space—that saves money in the long run.
- Look for standing water, musty odor, visible mold.
- Tough access or low height increases labor and time.
- The best quote keeps the area dry, not just the lowest line price.
How much does crawl space insulation cost in 2026?
An honest quote lines up tasks, not just materials; that’s where value shows. I break numbers into three scopes so homeowners can plan: basic, better, and best long-term.
Typical installed ranges by scope
Basic jobs often run $1,500–$3,000 and use budget batts or simple vapor liners. A better sealed approach with rigid foam usually lands higher.
Premium work with closed-cell spray foam plus a heavy vapor barrier commonly sits in the $4,000–$8,000+ bracket. Add drainage or a dehumidifier for another $1,000–$2,000.
Material-only vs installed pricing
- Fiberglass batts: about $1.00–$2.00 per sq ft installed.
- Rigid foam board: about $2.50–$4.00 per sq ft installed.
- Closed-cell spray foam: about $4.00–$7.00 per sq ft installed.
Installed should include prep, sealing, fasteners, cleanup, and disposal — not just the panels or cans.
Common add-ons that change the final number
- Old removal and mold cleaning
- Drainage fixes and thicker vapor liners
- Sealing upgrades and dehumidifier installation
Watch quotes that underprice prep or skip moisture control. That saves money today and costs money later.
What’s included in a crawl space insulation quote
A complete proposal turns unknown problems into a written plan you can trust. I list scope, materials, and exclusions so a homeowner can compare bids fairly.
Prep and removal: Expect debris clearing, leveling low spots, and removal of old insulation if it’s wet, moldy, or contaminated. Typical inspections run $100–$250. Removing old insulation and cleaning are common line items.
Air sealing: I seal rim joists, plumbing and electrical penetrations, and gaps where outside air and humidity enter. Caulk, foam, and tape tools usually cost $8–$15 per tube or cartridge.

Vapor barrier and seam sealing
We specify thickness and coverage. Expect barrier material at about $0.30–$0.70 per square foot. Seams should be taped and mechanically fastened so the barrier runs up walls and terminates at edges.
Workmanship, cleanup, and homeowner checklist
- Fastening method and sealed seams documented in writing.
- Where old material will be disposed and whether fees are included.
- Photos before and after, a written scope, and a statement of excluded issues.
- Clear note of any additional repairs needed before the new insulation is installed.
Bottom line: A good quote is a plan, not just a number. Confirm prep, air sealing, vapor barrier details, and final cleanup in writing so the job is done right the first time.
Cost by insulation type and material
Choosing the right product for your under-house area matters for durability and indoor comfort.
Closed-cell spray foam
Performance: About R‑6.5–7 per inch with built-in air sealing and strong moisture resistance.
When to use: Best for irregular surfaces, rim joists, and damp conditions where air leaks matter.
Installed price: About $4–$7 per sq ft. It earns the premium when long-term durability and air quality matter.
Rigid foam board for walls
Rigid panels run roughly $2.50–$4 per sq ft installed. They offer R‑4–6 and good moisture resistance if seams are taped.
This is a smart middle ground for wall work and partial DIY installs, provided edges and seams are sealed well.
Fiberglass batts
Fiberglass gives about R‑3.5–4 and installs for $1–$2 per sq ft. It’s cheap up front.
But in damp conditions batts sag, trap moisture, and raise mold risk. That often leads to repeat replacement.
Mineral wool and reflective foil
Mineral wool runs similar to higher-end batts and gives R‑4–4.3 with added fire resistance. Use it when fire rating or sound control matters.
Reflective foil works as a radiant barrier with air gaps. It helps limit heat transfer but is not a primary insulator and won’t fix air leaks.
- Compare each option by price, moisture tolerance, and long-term durability.
- If the area smells musty or the soil is damp, prioritize sealing and vapor control before chasing higher R-values.
- Pick the material that stays dry and sealed for the best return on investment and improved air quality.
Crawl space encapsulation costs and when it’s worth it
A proper encapsulation project is more than insulation—it’s a system that controls moisture and air. I define crawl space encapsulation in simple terms: seal the ground and walls, tape seams, and add conditioning or dehumidification when needed. That turns a problem area into a stable, usable zone.
What encapsulation typically includes beyond insulation
- Sealed vapor barriers up the walls and onto footings.
- Seam taping, mechanical fasteners, and perimeter termination.
- Air sealing at rim joists, penetrations, and vents when present.
- Optional dehumidifier or conditioned-supply tie-in for long-term control.
Vapor barrier materials and pricing
Vapor barriers commonly run about $0.30–$0.70 per sq ft for the material. Price shifts with thickness, tear resistance, and how high the liner runs up walls.
Labor and other system costs
Labor often makes up 50%–70% of the total bill because crews must clean, prep, crawl, seal, and fasten in tight conditions. Typical encapsulation ranges from $1,500–$15,000, averaging near $5,500 depending on size and condition.
Dehumidifier and termite barrier notes
Dehumidifiers cost roughly $300–$1,500. I recommend one when moisture readings stay high after sealing. Termite barriers add protection in treated zones and can raise the scope if local code or risk demands it.
- Signs it’s worth it: persistent dampness, musty odor, or repeated insulation failure.
- Benefit: properly done encapsulation lowers HVAC load and can reduce monthly bills.
- Ask for a written scope that lists materials, barrier thickness, and whether a dehumidifier is included.
Key factors that influence crawl space insulation cost
I start every estimate by checking three practical drivers that shape the final price. Size is only the first number. Access and condition set the labor hours and safety needs.

Square footage, height, and access challenges
Two spaces with the same square footage can take very different time to finish.
Tight entry points, low clearance, and long runs add labor and safety measures. That raises the per-foot price more than the raw area.
Condition issues: mold, wood rot, and structural concerns
Visible mold or rotted joists must be fixed before any insulation or liner goes in. That repair work changes the scope and total.
Local labor rates and material availability
Labor often captures 50%–70% of an encapsulation bill. Local wage levels and supply lead times in the United States affect bids.
- Ask: “How many workers, how many days, and what prep is included?”
- Fix issues early to protect the investment and reduce callbacks.
- We document findings so the homeowner sees the plan and price clearly.
Moisture control first: how drainage impacts insulation performance and cost
Most failures I see start outside: water finds the easiest route under the home and ruins interior fixes.
Water management is the real issue, not just R‑value. If water reaches the subfloor, any insulation becomes a sponge or a trap. That shortens material life and raises long‑term costs.
Why water management beats chasing higher R
Fixing exterior drainage changes the whole equation. When the ground and grade divert water away, vapor control and sealed walls work as intended.
Exterior fixes that cut long‑term bills
- Punch list I use: regrade low spots, extend downspouts away from foundations, and add swales where surface runoff pools.
- These moves reduce standing water and remove the need for repeated interior remediation.
- A drier under‑house area means fewer add‑ons, longer material life, and lower energy loss through humid air.
We lead with drainage because it protects your investment. Sometimes insulation is the last step, not the first, and that’s the practical path I recommend so you don’t pay for the same problem twice.
Inspection, repairs, and prep costs to budget for
Before you sign a bid, plan for inspection and prep—these steps often change the final number more than the chosen material.
Typical inspection pricing: A full on-site check usually runs about $100–$250. I look for moisture sources, air leaks, old insulation condition, and any signs of structural movement.
What mold remediation commonly runs
When removal is required, mold cleanup typically costs about $15–$30 per square foot. Sometimes containment and fixing the moisture source is the priority instead of full removal.
Foundation and structural repair ranges
Structural fixes often range from $2,000–$7,000 depending on extent. These repairs can delay the job and must be handled before any new insulation goes in.
- I explain why inspections and prep are part of a smart budget: you can’t price insulation accurately until you know what you’re insulating over.
- Prep items include cleaning, removal of contaminated materials, and drying surfaces so sealing and materials bond correctly.
- Ask your contractor: “What repairs are assumed, and what triggers a change order?” This saves time and money later.
DIY vs. professional installation: what saves money and what doesn’t
I keep this simple: some tasks cut the bill, others raise risk. If moisture or major air leaks are present, a poor install will cost more over time.
Where DIY can work: Rigid foam board on crawl walls is a realistic DIY lane when surfaces are dry and level. Seal seams, tape edges, and fasten panels to studs. Seal around pipes and vents so air pathways are closed.

Why spray foam is usually pro-only
Closed-cell spray foam needs specialized gear and training. A bad spray leaves gaps, smells, or adhesion failures that are costly to fix. Professionals control temperature, thickness, and safety gear for a reliable installation.
Cost-saving tips that don’t backfire
- Do the cleaning and debris removal yourself to cut labor hours.
- Buy visible materials directly if you confirm specs, thickness, and compatible tapes/adhesives.
- Clear access before the crew arrives to reduce time-in-place fees.
Common DIY misses: installing over damp soil, skipping rim-joist sealing, or leaving gaps at seams. These mistakes let air and moisture defeat new insulation and the vapor barrier.
My recommendation: choose a hybrid plan. We handle technical sealing and critical moisture work. You take on basic prep and material pickup if you want to save money without risking performance.
Energy savings, comfort, and payback: what you get for the money
Sealing and stabilizing the void under your home often gives the fastest energy and comfort wins.
Real HVAC savings: When proper sealing and insulation are combined with moisture control, homeowners commonly see 10%–20% reductions in heating and cooling bills. Results vary with leakage, system age, and starting conditions.
Comfort improves quickly. Floors feel warmer in winter. Rooms hold temperature more evenly. Summer humidity drops when damp air stops entering the home.
Non‑monetary benefits that add real value
- Better indoor air quality and fewer musty odors.
- Lower mold risk when moisture is controlled and vents are sealed.
- Protected ductwork and framing that extend component life.
- Faster payback when the crawl space is a major leak point, especially in older Atlanta homes.
Peace of mind: A dry, sealed area means fewer surprises at resale, fewer callbacks, and less chance you’ll replace soaked materials later.
I focus on solutions that stop the constant exchange of damp outside air. That’s where energy savings and long‑term value actually come from—not just chasing the highest R‑value number.
Get a crawl space insulation estimate in Metro Atlanta with Drainage First
Ready for a clear, written plan that matches what we actually find under your home? I’ll look at grading, exterior drainage, and any interior signs so the proposal shows the real scope and next steps.
Locally owned and operated for over 20 years with hands-on service
Drainage First is owner-led and field-first. We make the service calls ourselves and stay on the job from inspection through completion.
Same-day written estimates and faster project start times
Expect a same-day written estimate and practical scheduling so you don’t wait weeks for a start date. We prioritize fixing exterior drainage when that solves the problem faster and more affordably.
Contact Drainage First: (678) 389-9544 | carter@drainagefirst.com
To get a clear plan, have your address, symptoms, and photos ready. Tell us when access is possible and we’ll handle the rest.
Service area: Metro Atlanta, Georgia and nearby areas
- We invite homeowners to request a written scope for their crawl space project.
- We focus on grading and drainage first so interior work lasts longer.
- Call us to get the job done fast and with fewer surprises.
Conclusion
The best final step is this: stop water first, seal air paths next, then pick the right material and system for a lasting result.
I recommend choosing encapsulation when moisture or repeated failures are present. A full system lasts longer than patching with old materials. Compare bids by what they include—prep, air sealing, vapor barrier work, and cleanup—so the written scope matches the job done.
When walls and floor are dry and sealed, insulating and vapor barriers perform as intended. The payoff is lower energy bills, better air quality, fewer mold issues, and real peace of mind.
Get the area assessed, budget for the right fixes, and invest once. In Metro Atlanta, fixing drainage first usually protects your investment.